REVERSE PROXY
01
System Preparation
Before installing the web server, there are a few prerequisites that will need to be satisfied. These include creating a non-root user, allowing port 80(HTTP) and 443(HTTPS) in your firewall and the configuration of the router to forward these ports, which will allow clients outside of your network access to the application being served. These steps are outlined below.
To remotely connect to the server, you can do so with SSH(Secure Shell). For instruction on how to properly set up SSH, please use the following link. SSH Setup - Fossman Media
Create a non-root user
and add to the subo group
pagesprouts@linux-server:~$ usermod -aG sudo user_name
Install and Enable the UFW firewall
pagesprouts@linux-server:~$ ufw enable
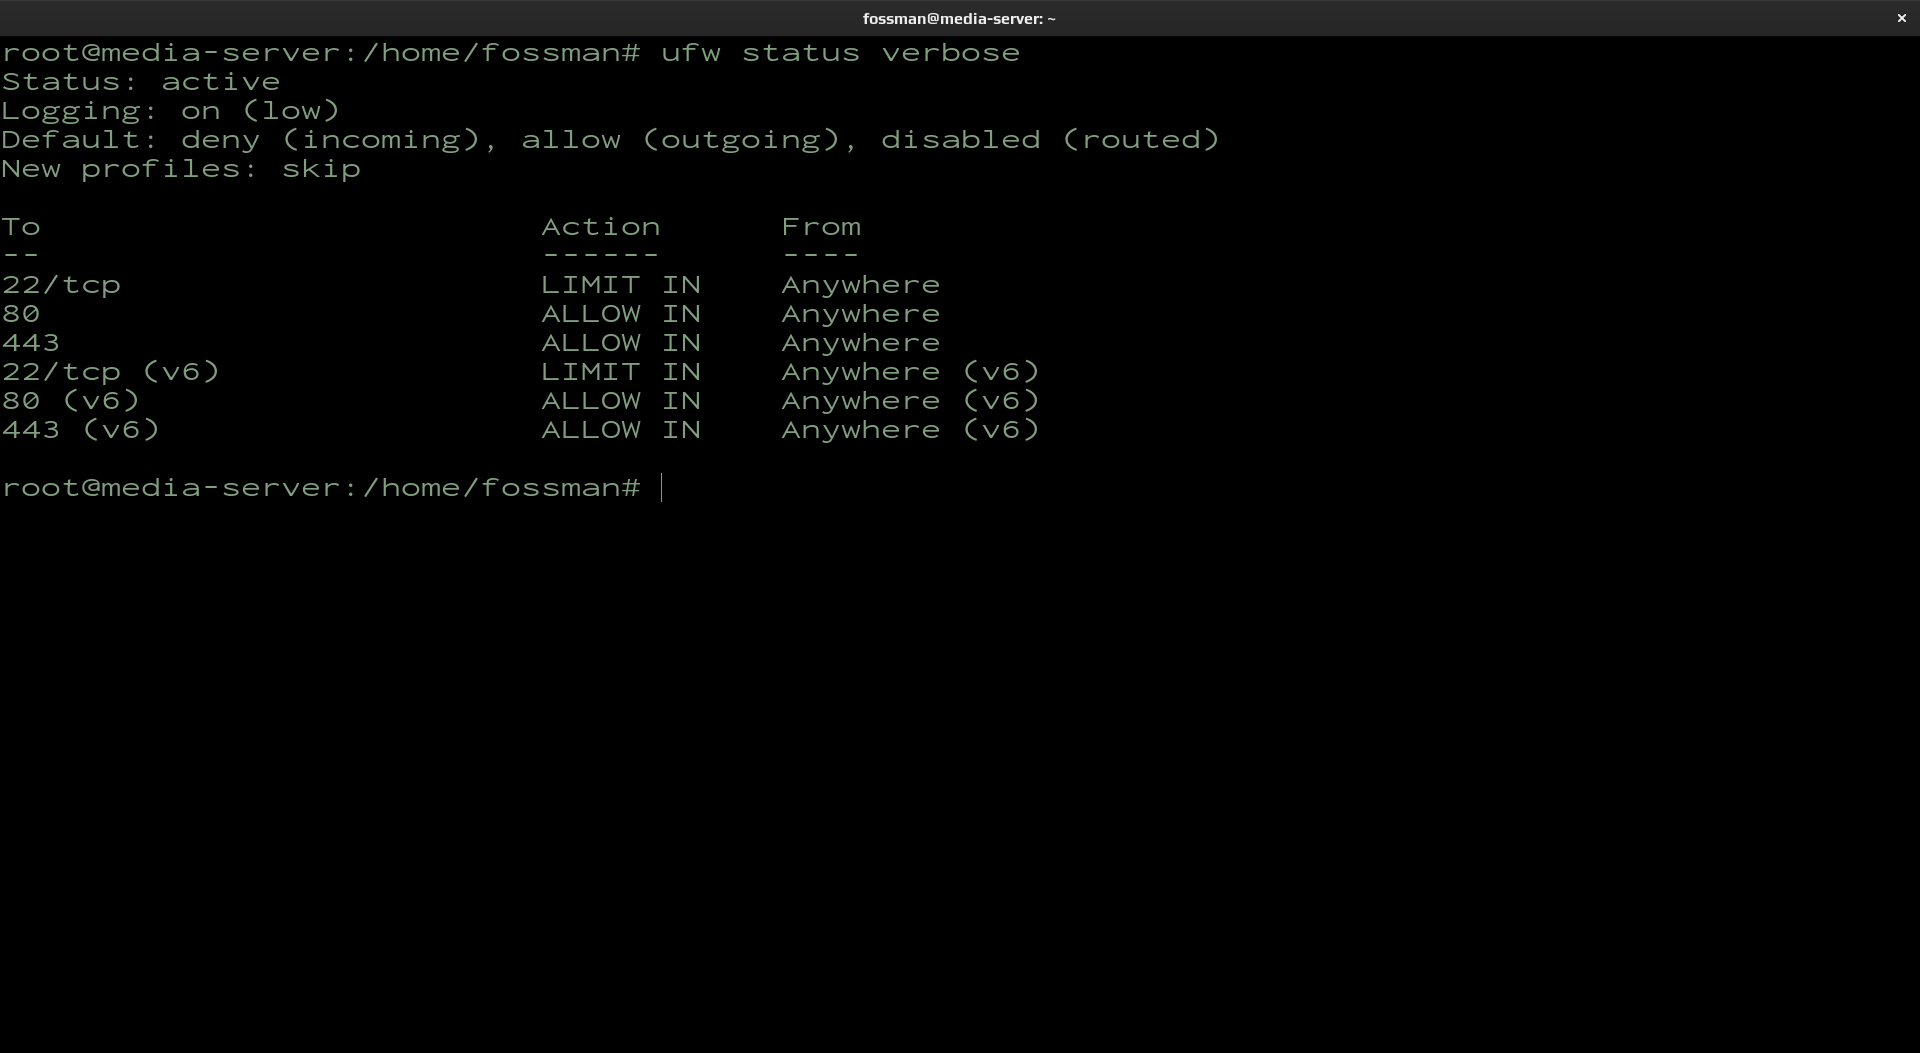
Allow ports 80(HTTP), 443(HTTPS) and 22(SSH)
pagesprouts@linux-server:~$ ufw allow 443
pagesprouts@linux-server:~$ ufw allow 22
Check firewall status

Configure router (forward ports 80 and 443)
To allow clients outside of your network access to the application being served, ports 80(HTTP) and 443(HTTPS) will need to be forwarded in your routers settings. This operation varies depending on the manufacturer of the router. To find this information, search for the name of your routers manufacturer followed by "port forwarding".
02
Nginx Install
Use the following commands to install Nginx on your server.
Install Nginx
pagesprouts@linux-server:~$ apt install nginx
03
Nginx Configuration File
To point the application to the Nginx server, a configuration file will need to be created. The default location of this file after installing the server is normally located at /etc/nginx/nginx.conf. To override this file with your own, pointing to your application, a new file will need to be created here: /etc/nginx/conf.d/. Use the following instructions to create this file
Navigate to directory
Create and open the file
Paste in the following contents
This example is using example.com as the domain and assumes the application is running on port 3000. Change this information to suit your application.
server {
    listen 80;
    listen [::]:80;

    server_name example.com www.example.com;

    location / {
        proxy_pass http://localhost:3000/;
    }
}
If you haven't yet registered a domain name, replace the domain name in the above example with your public IP address. Example shown below. To find your public IP address, the following link can be used.
https://ipchicken.com/
server {
    listen 80;
    listen [::]:80;

    server_name public_ip_address_here;

    location / {
        proxy_pass http://localhost:3000/;
    }
}
After you have done editing the file, use ctrl+o to save then ctrl+x to exit
Test and reload example.conf
Use the following commands to test and reload the newly created configuration file
pagesprouts@linux-server:~$ nginx -s reload
Confirm reverse proxy
To test that nginx is running and using a reverse proxy, open a browser, put your public IP address or Domain name is the address bar and hit enter.
Additional configuration files can also be added to accommodate for multiple applications/domains. All running at the same time on the same server. Just copy and paste the existing configuration file and change the necessary information. Such as the domain and the port the application is running on.
04
Nginx Status Commands
Use the following commands to start, stop, restart and show the status of the nginx server.
pagesprouts@linux-server:~$ sudo systemctl start nginx
pagesprouts@linux-server:~$ sudo systemctl stop nginx
pagesprouts@linux-server:~$ sudo systemctl restart nginx
Use the following commands to test or reload the configuration file
pagesprouts@linux-server:~$ sudo nginx -s reload


