PRIVACY

If your not sure if it is safe to trust mainstream VPN's and need to connect to a service anonymously or protect your entire system, there are many great tools that can help accomplish this. The following sections offer instructions on how to install and use them.
APPLICATIONS

The first two tools that come to mind when trying to think of ways to preserve privacy online are, Proxychains and Kalitorify. Proxychains not only has the ability to use proxies through the Tor network, but also provides the functionality of being able to create your own custom list of proxies(the chain). The only downside however, is that it does not provide anonymity across the entire system, only the application that was opened with Proxychains.
Which is where Kalitorify comes in. After looking at the name it would appear that it is an application make for the Kali Linux distribution. But in fact, it also works very well on many others. So to recap, Proxychains works on an application basis and Kalitorify is across the entire system.
01
Proxychains
Proxychains is an application that will redirect connections through a proxy server. It allows for access to the internet from behind a restrictive firewall, enables the ability to mask IP addresses, provides ssh tunneling/forwarding and a dynamic LAN to LAN VPN channel.
Install dependencies
update the system and install tor
fossworkx@linux-server:~$ sudo apt install tor
Installation
install proxychains
Edit configuration file
Before proxychains can be used, the configuration will need to be modified. Use the following command to open the file and make the necessary changes.
Edit 1 of 3
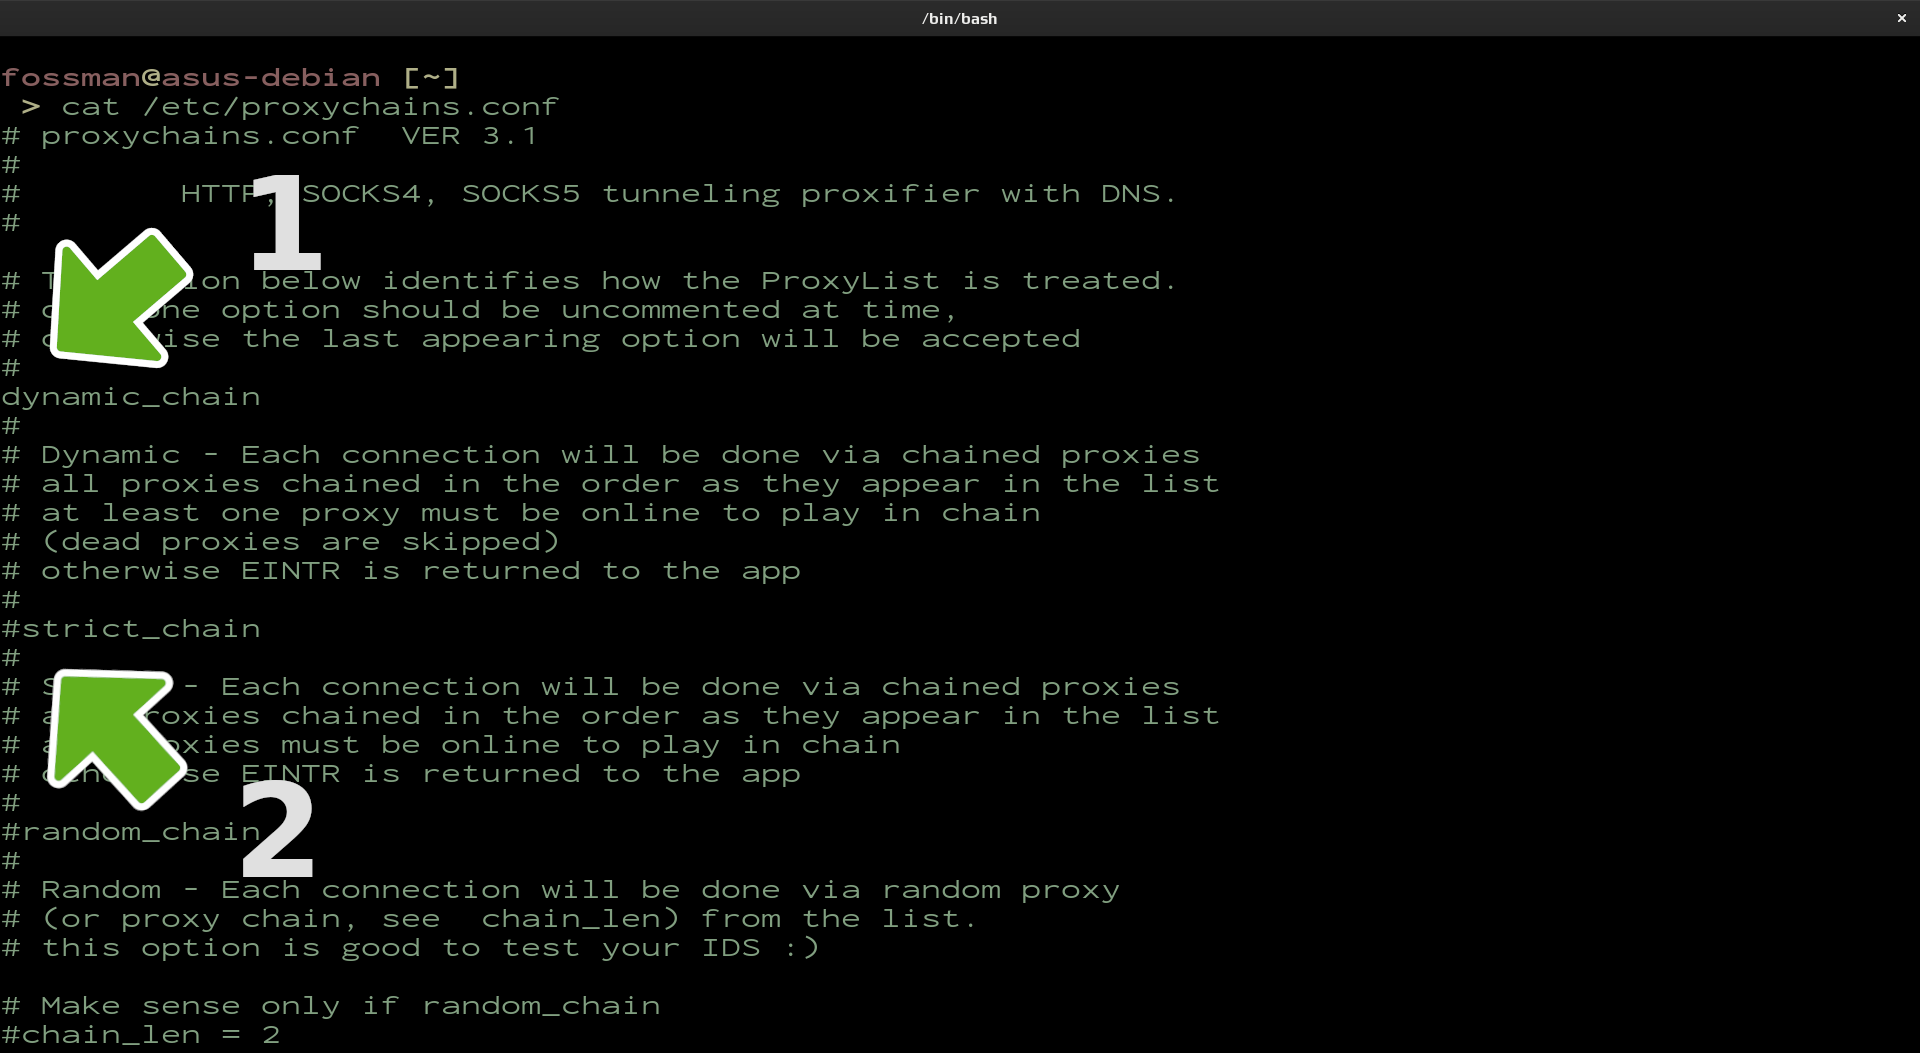
Determine how the proxy list is treated. strict_chain will usually be the default. This option will only allow connections through if all proxies in the list are active. dynamic_chain on the other hand uses a provided proxy list and cycles through proxies and skips the ones that are not working and the random_chain randomly chooses a proxy from the list below. In this example it is suggested to go with dynamic_chain
Remove the comment before dynamic_chain (#)
Add a comment before strict_chain (#)
Edit 2 of 3
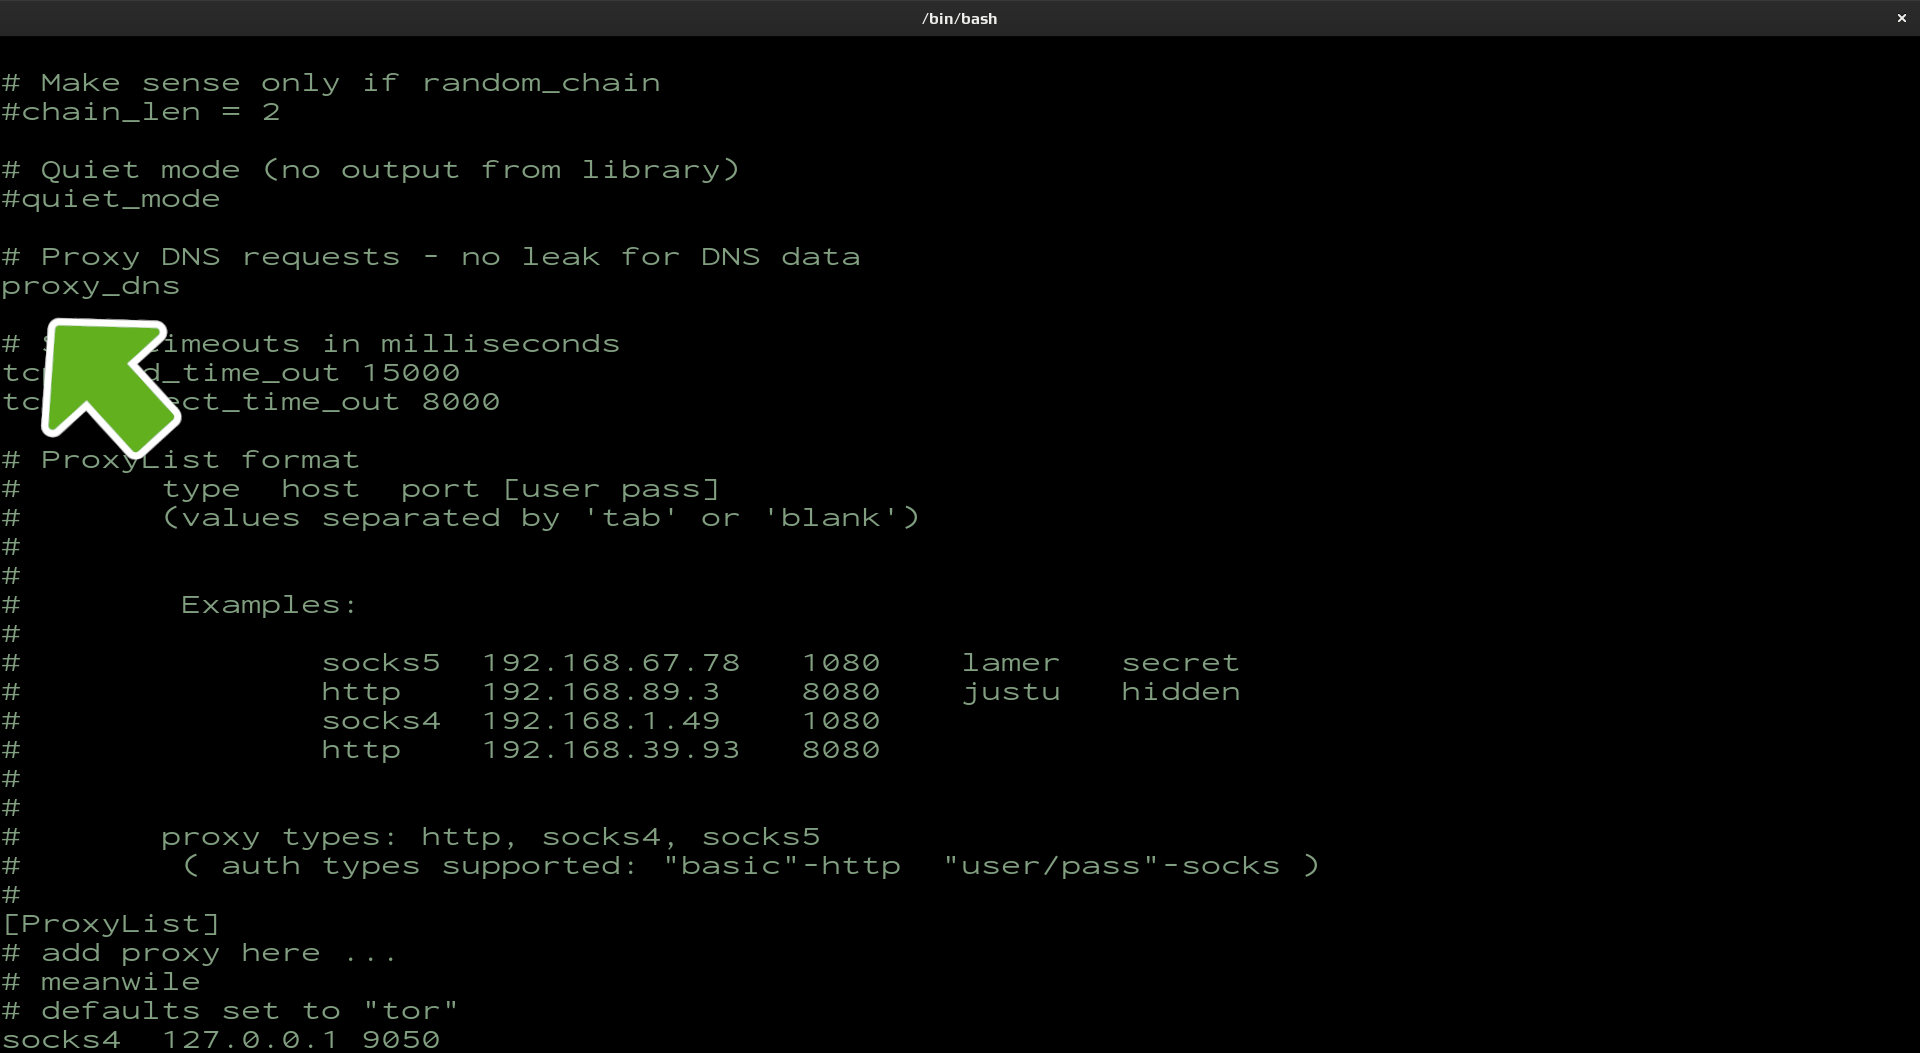
Ensure proxy_dns has no comment. This step will help to prevent DNS leaks.
Edit 3 of 3
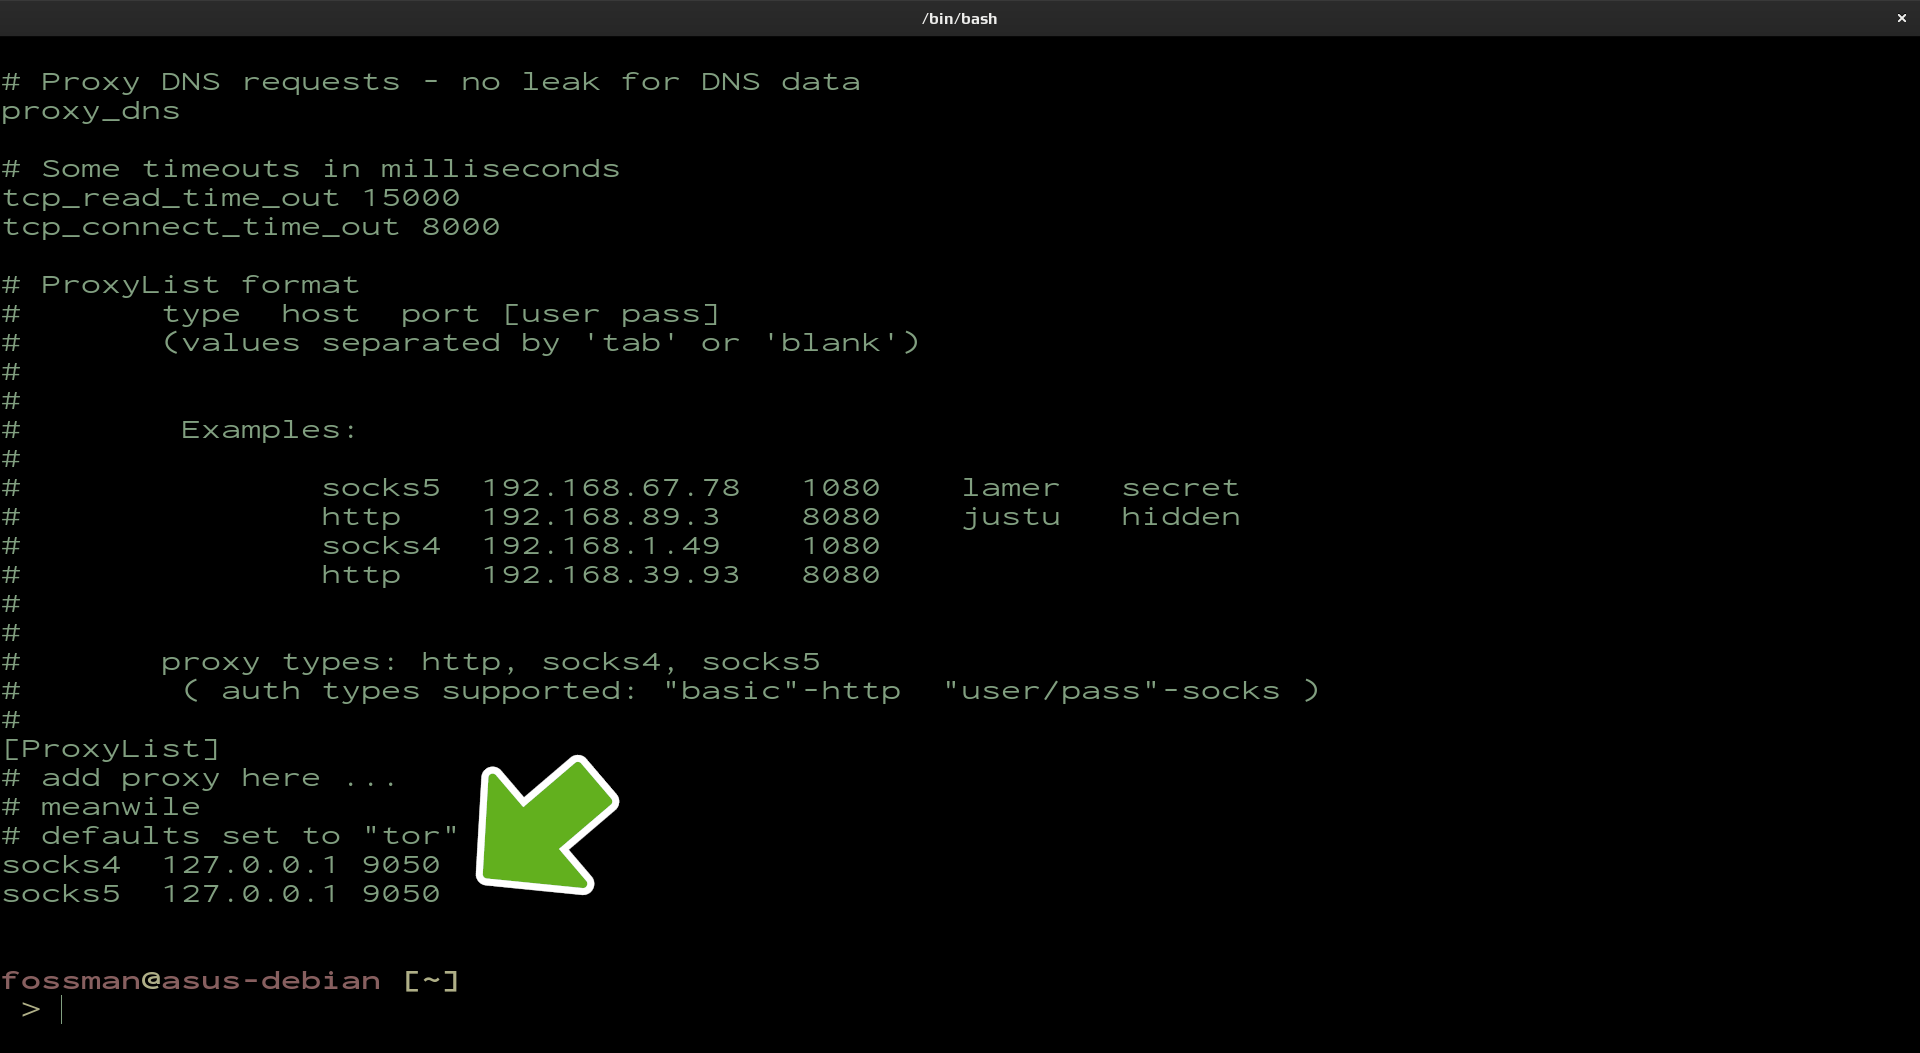
Add a socks5 proxy. This step will add support for socks5
copy and paste the socks4 line above and replace the 4 with a 5.
save and exit
Launch Proxychains
Use the following command to run the application. In this example Proxychains will be used to open dnsleaktest.com in the browser. Here we can ensure the public IP address has changed and that there are no dns leaks. Make sure the application you are opening with proxychains isn't already open.
If proxychains does not work and returns an error, try allowing port 9050 in your firewall
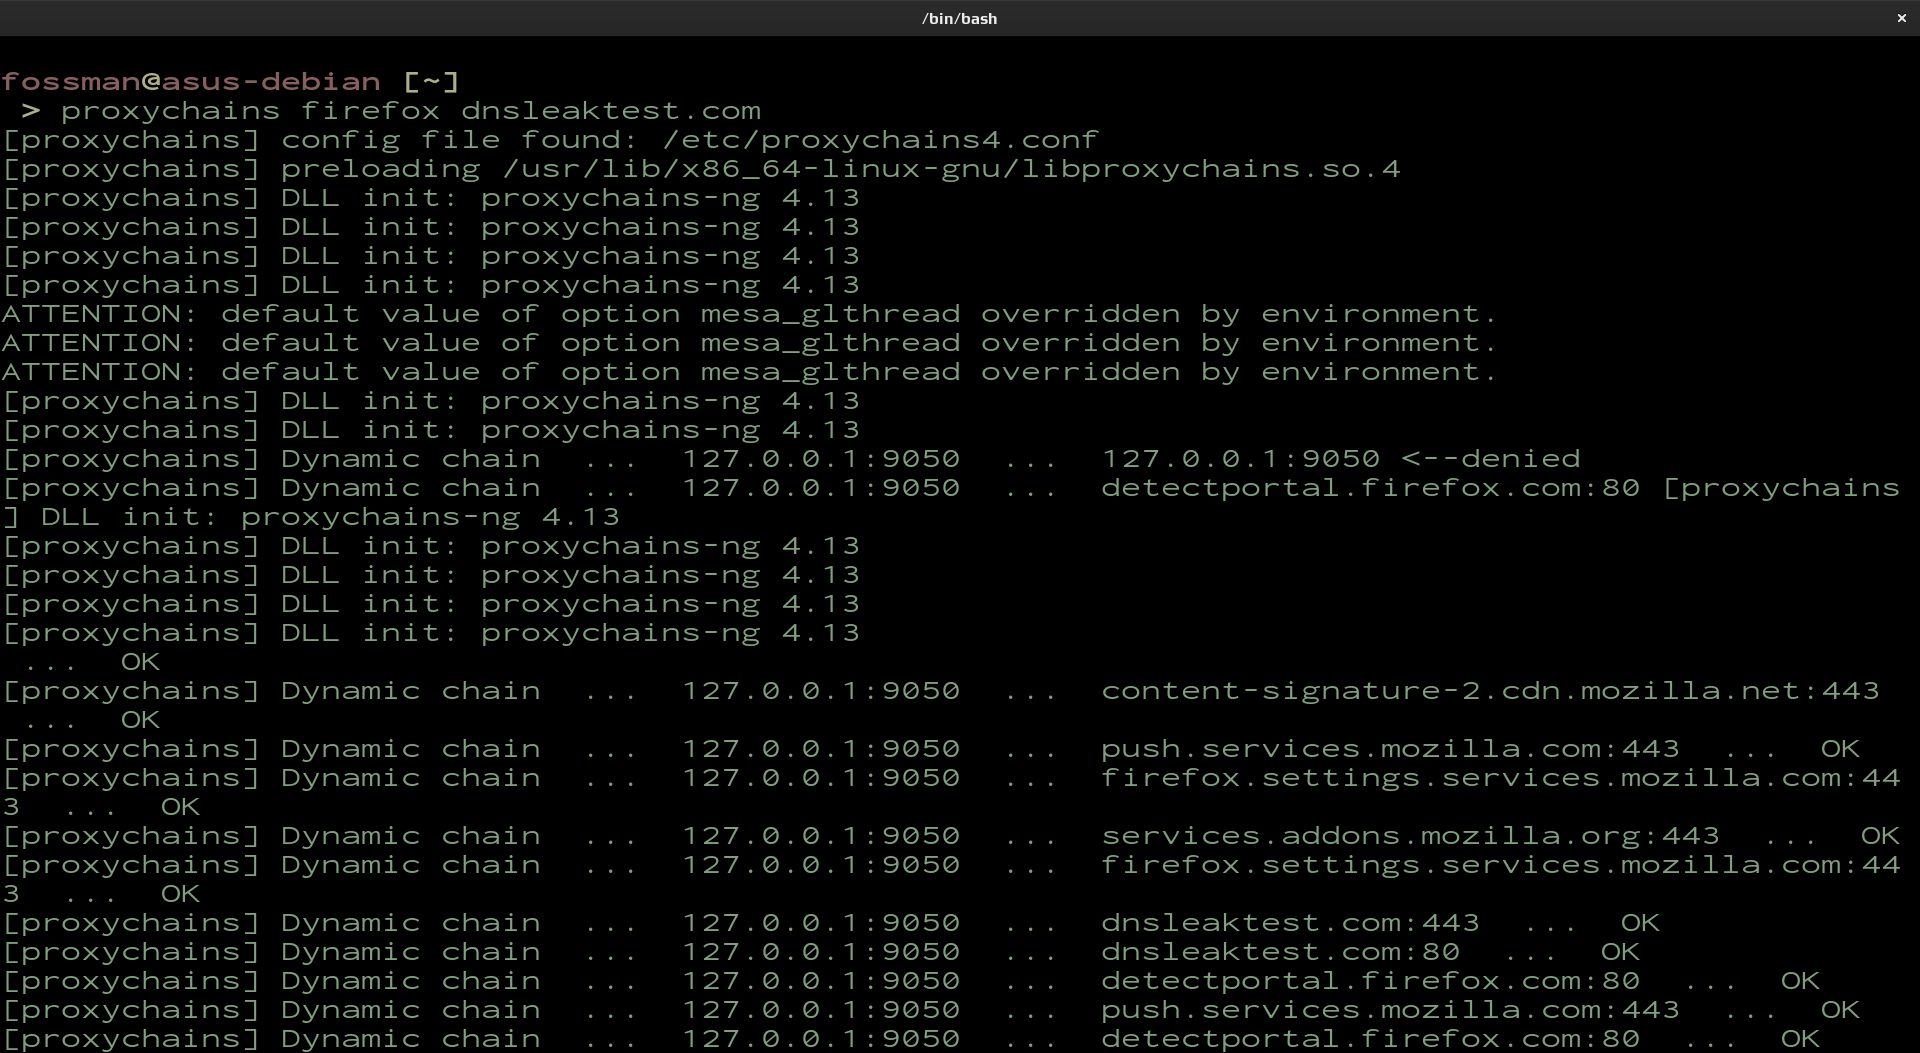
As you can see from the screenshot, proxychains is making connections through various hops to dnsleaktest.com. After executing this command, the browser will open and navigate to the requested website. Once opened, verify the IP address and country of origin has changed.
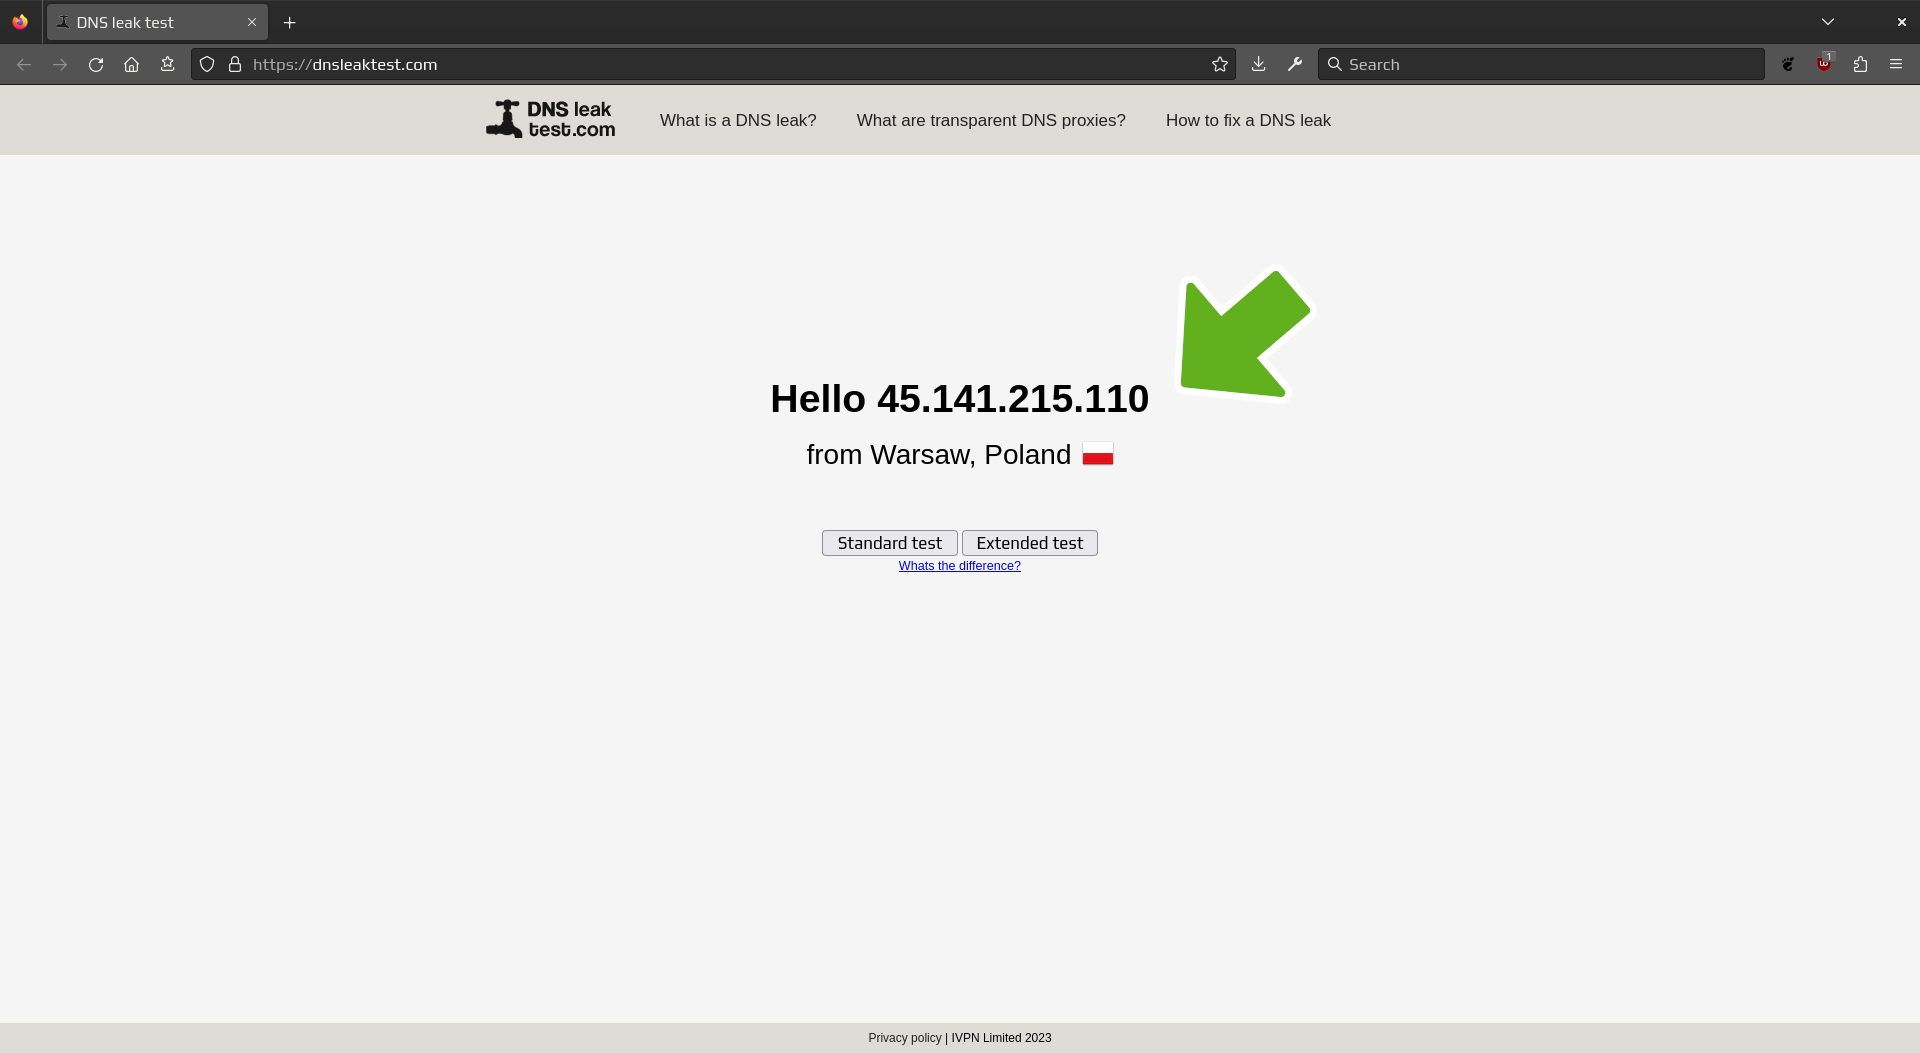
Verify IP address and country of origin
Then, click on Standard test to verify there was no DNS leak.
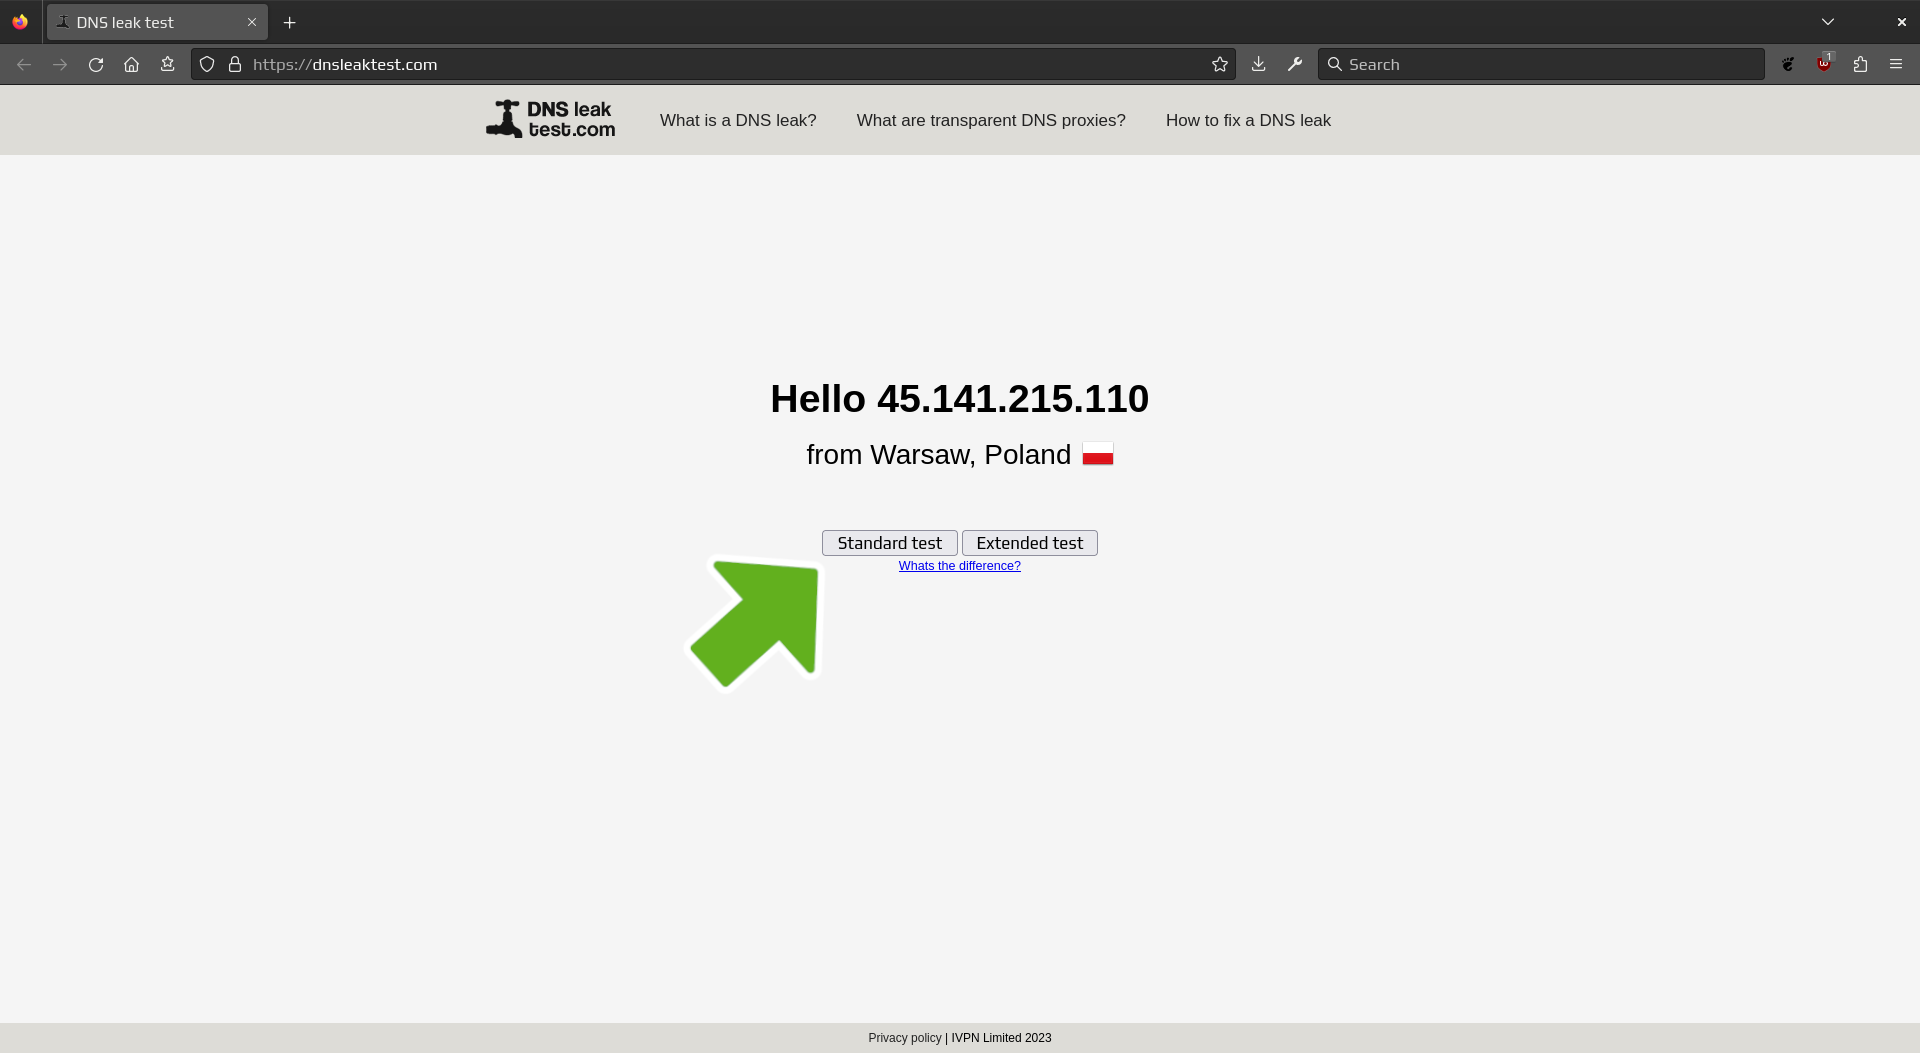
Verify DNS
Next, click on Standard test to verify there was no DNS leak.
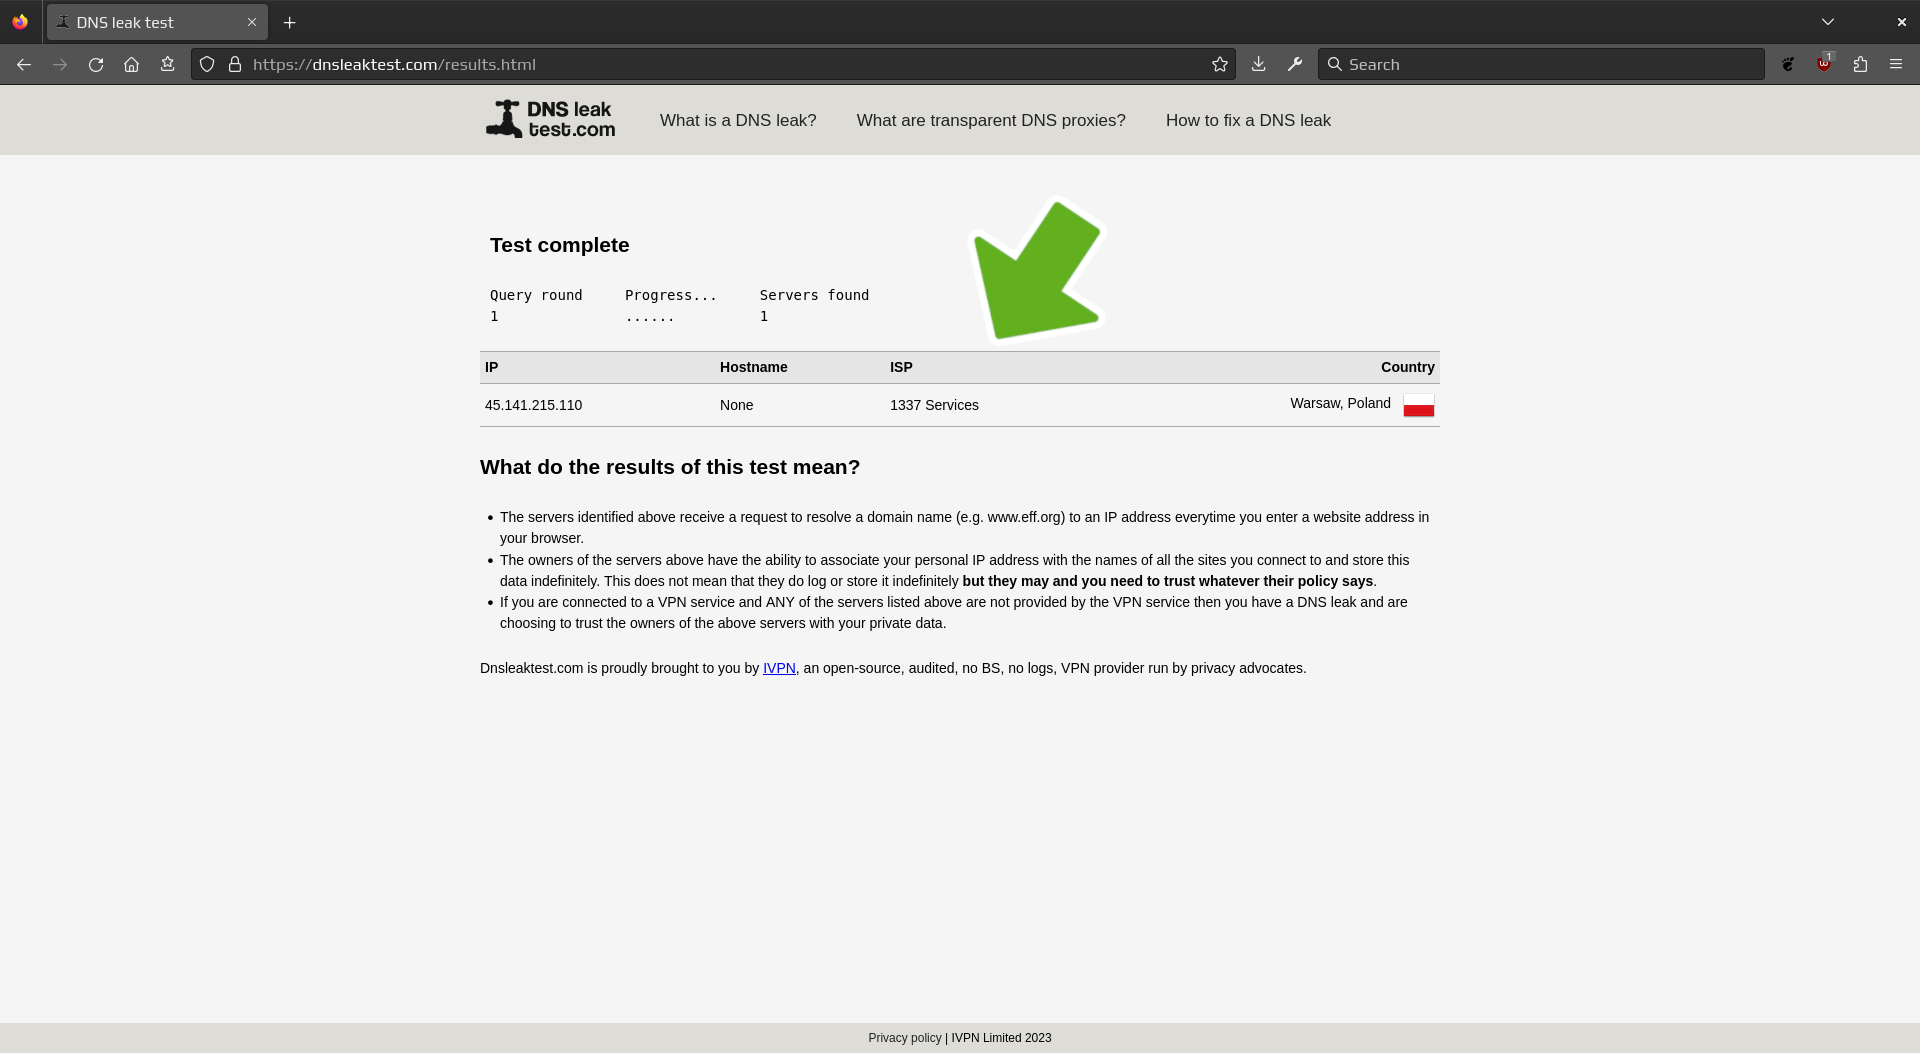
Verify ISP change
Verify the ISP has changed and not pointing to your current provider.
Exit connection
To exit the connection, close the application you opened up with Proxychains. After doing so, the connection will be terminated and the terminal prompt will be freed.
SYSTEM WIDE

Similar to Proxychains, Kalitorify provides anonymity by routing your traffic through various Tor nodes before it reaches it's destination. But unlike Proxychains, Kalitorify covers the entire system. The following tools can be used to provide anonymity across the entire system using the Tor network. This would include the browser and all other applications connecting to the internet.
01
Kalitorify
Kalitorify is a shell script which uses iptables to create a transparent proxy through the Tor network. What makes it different from other tools such as Proxychians, is that all of the traffic is redirected through the Tor network. Not just the browser.
Download Kalitorify
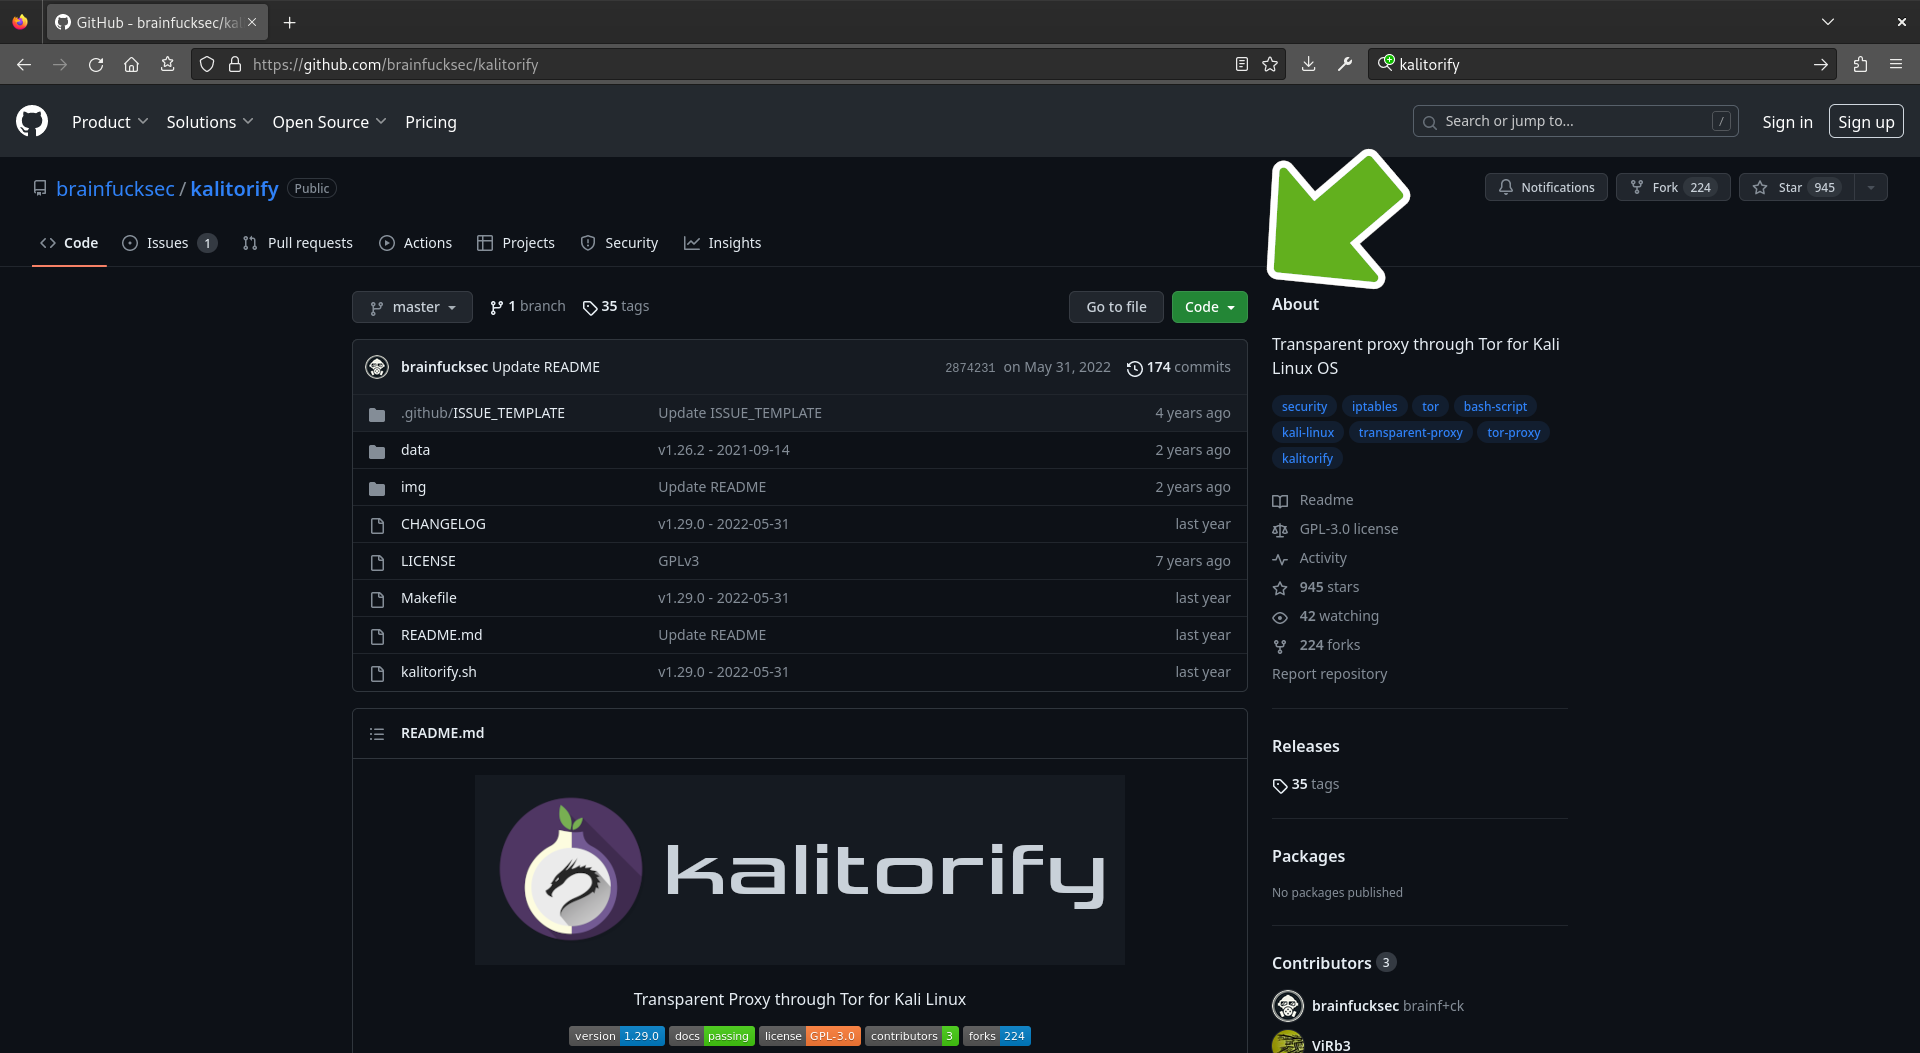
Open your browser and search for kalitorify followed by the word github. Then, click on the github link. Or use the following link to open it in a new tab. https://github.com/brainfucksec/kalitorify

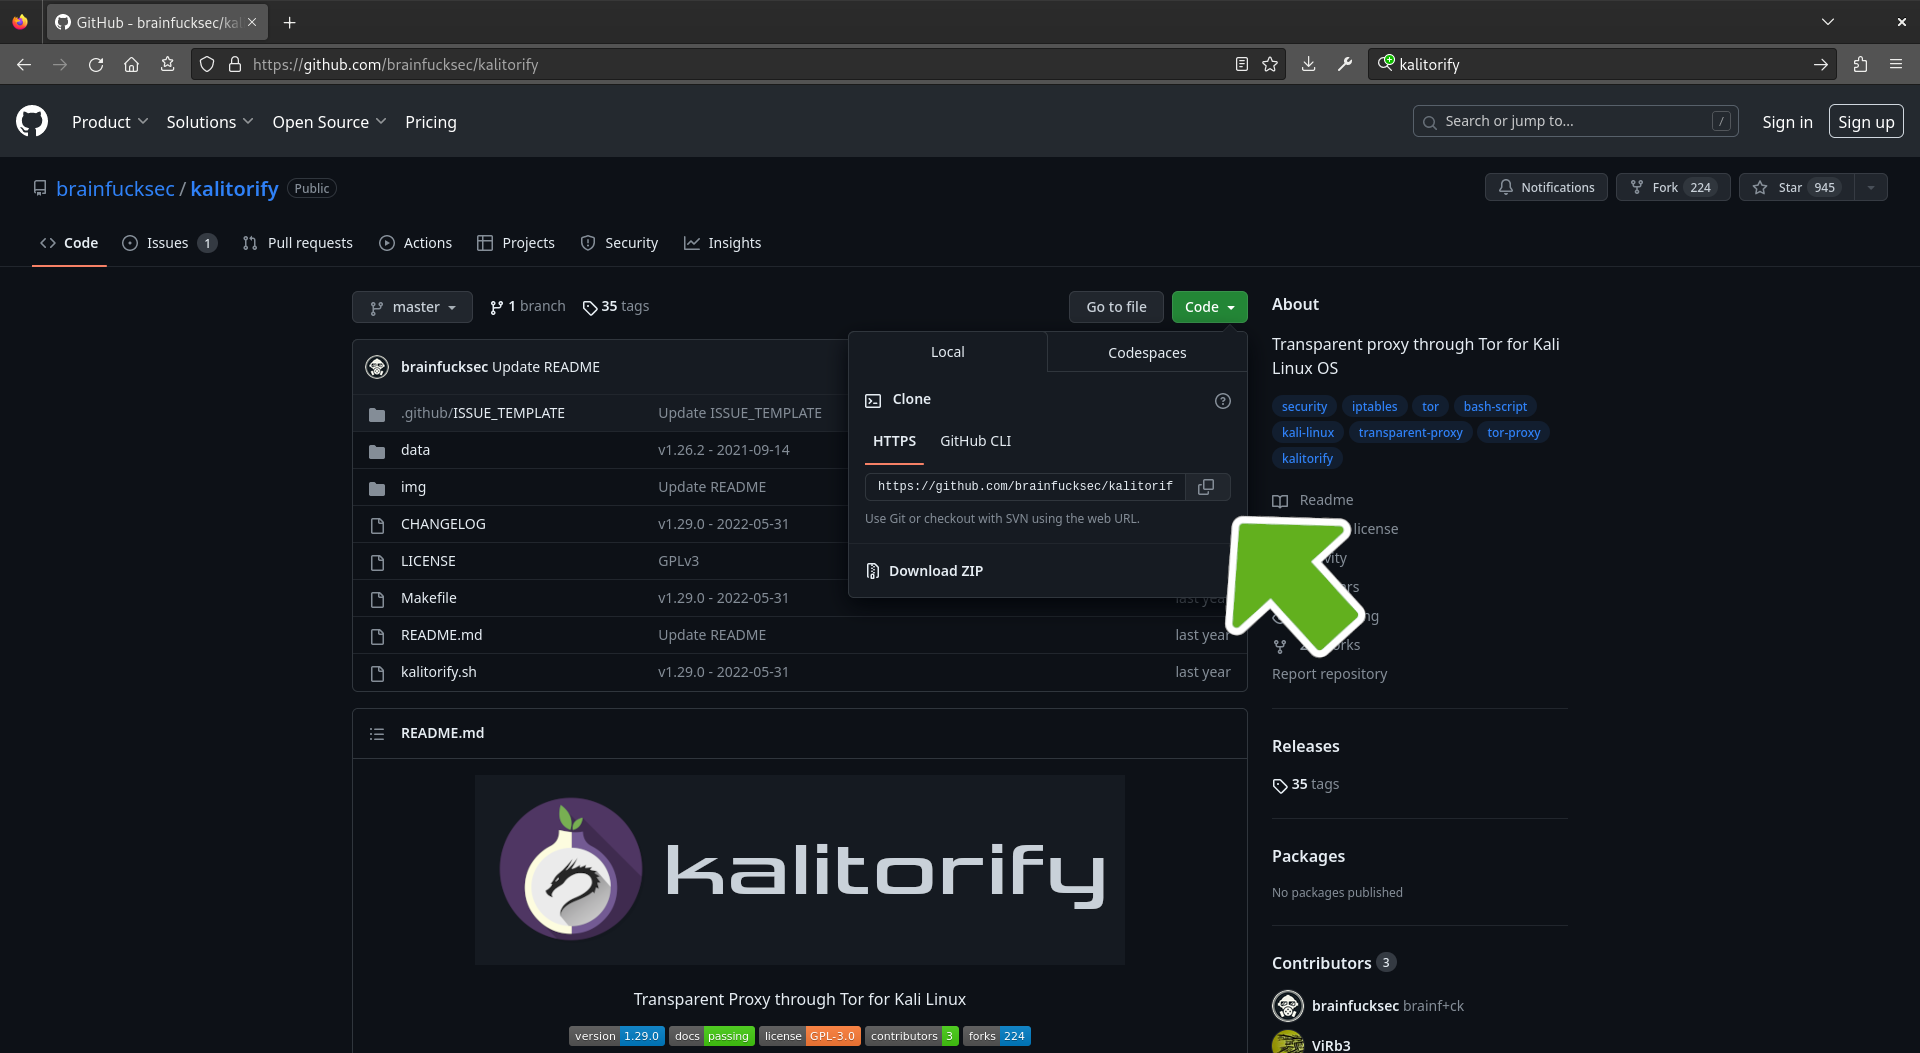
Copy clone link
click on Code and copy the https link to your clipboard
Install dependencies
Install Git, Tor and Curl if not alredy installed
fossworkx@linux-server:~$ sudo apt install git tor curl
Clone Repository
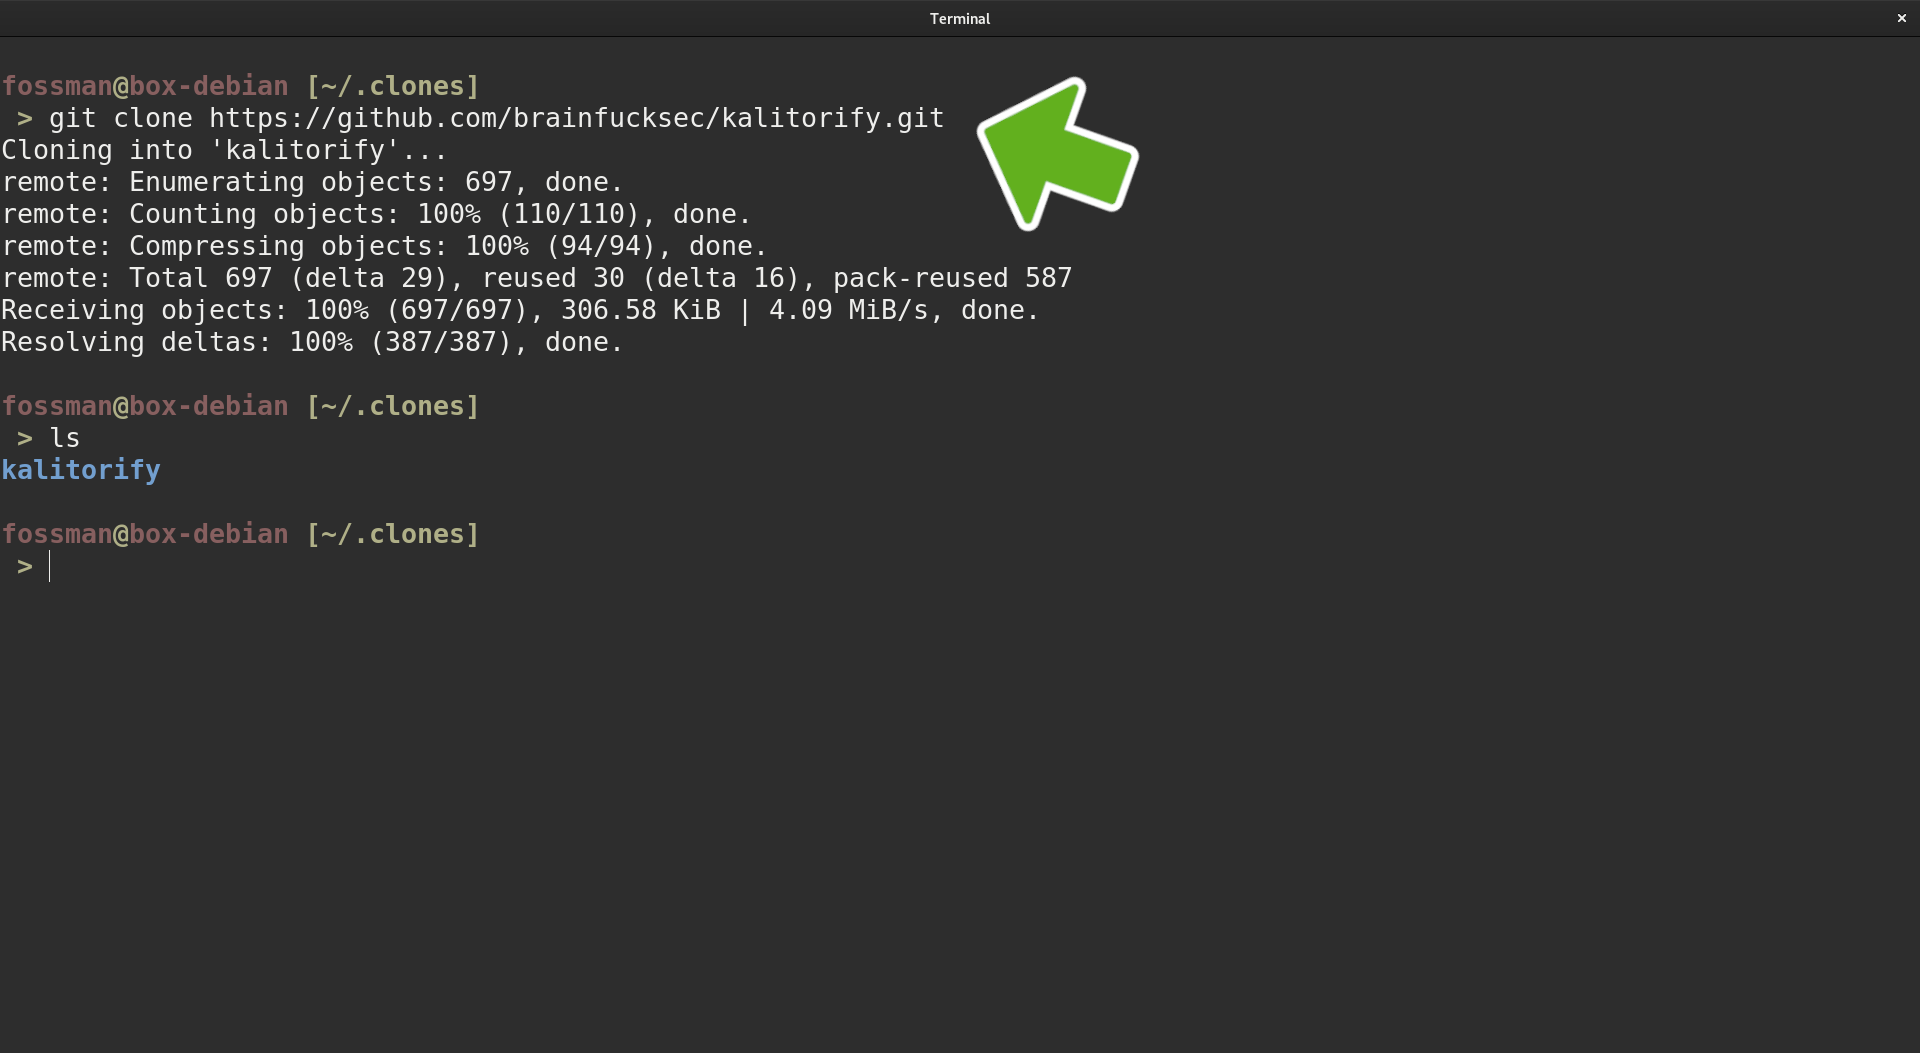
Now with the dependencies installed, the git clone command can be used with the copied link to clone the repository
Install Kalitorify
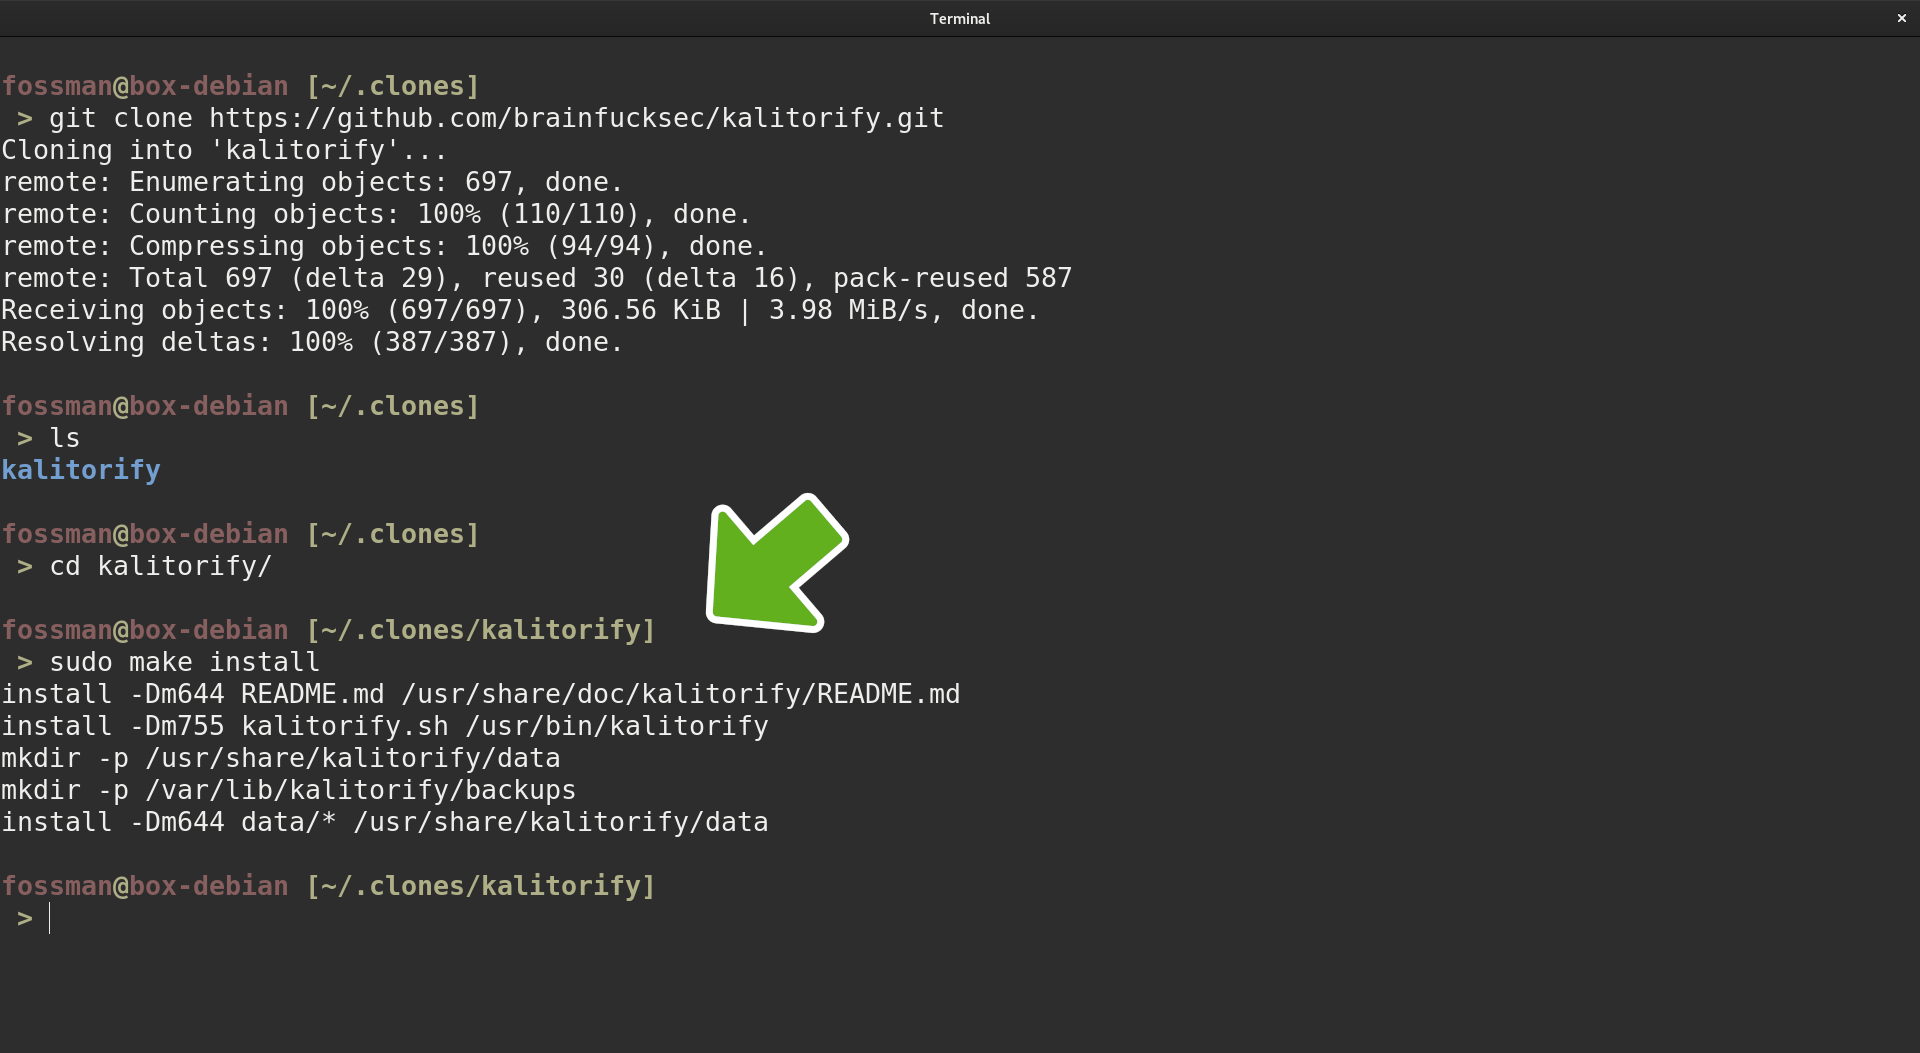
cd into the cloned kalitorify directory and run the make install command.
fossworkx@linux-server:~$ sudo make install
Kalitorify Options
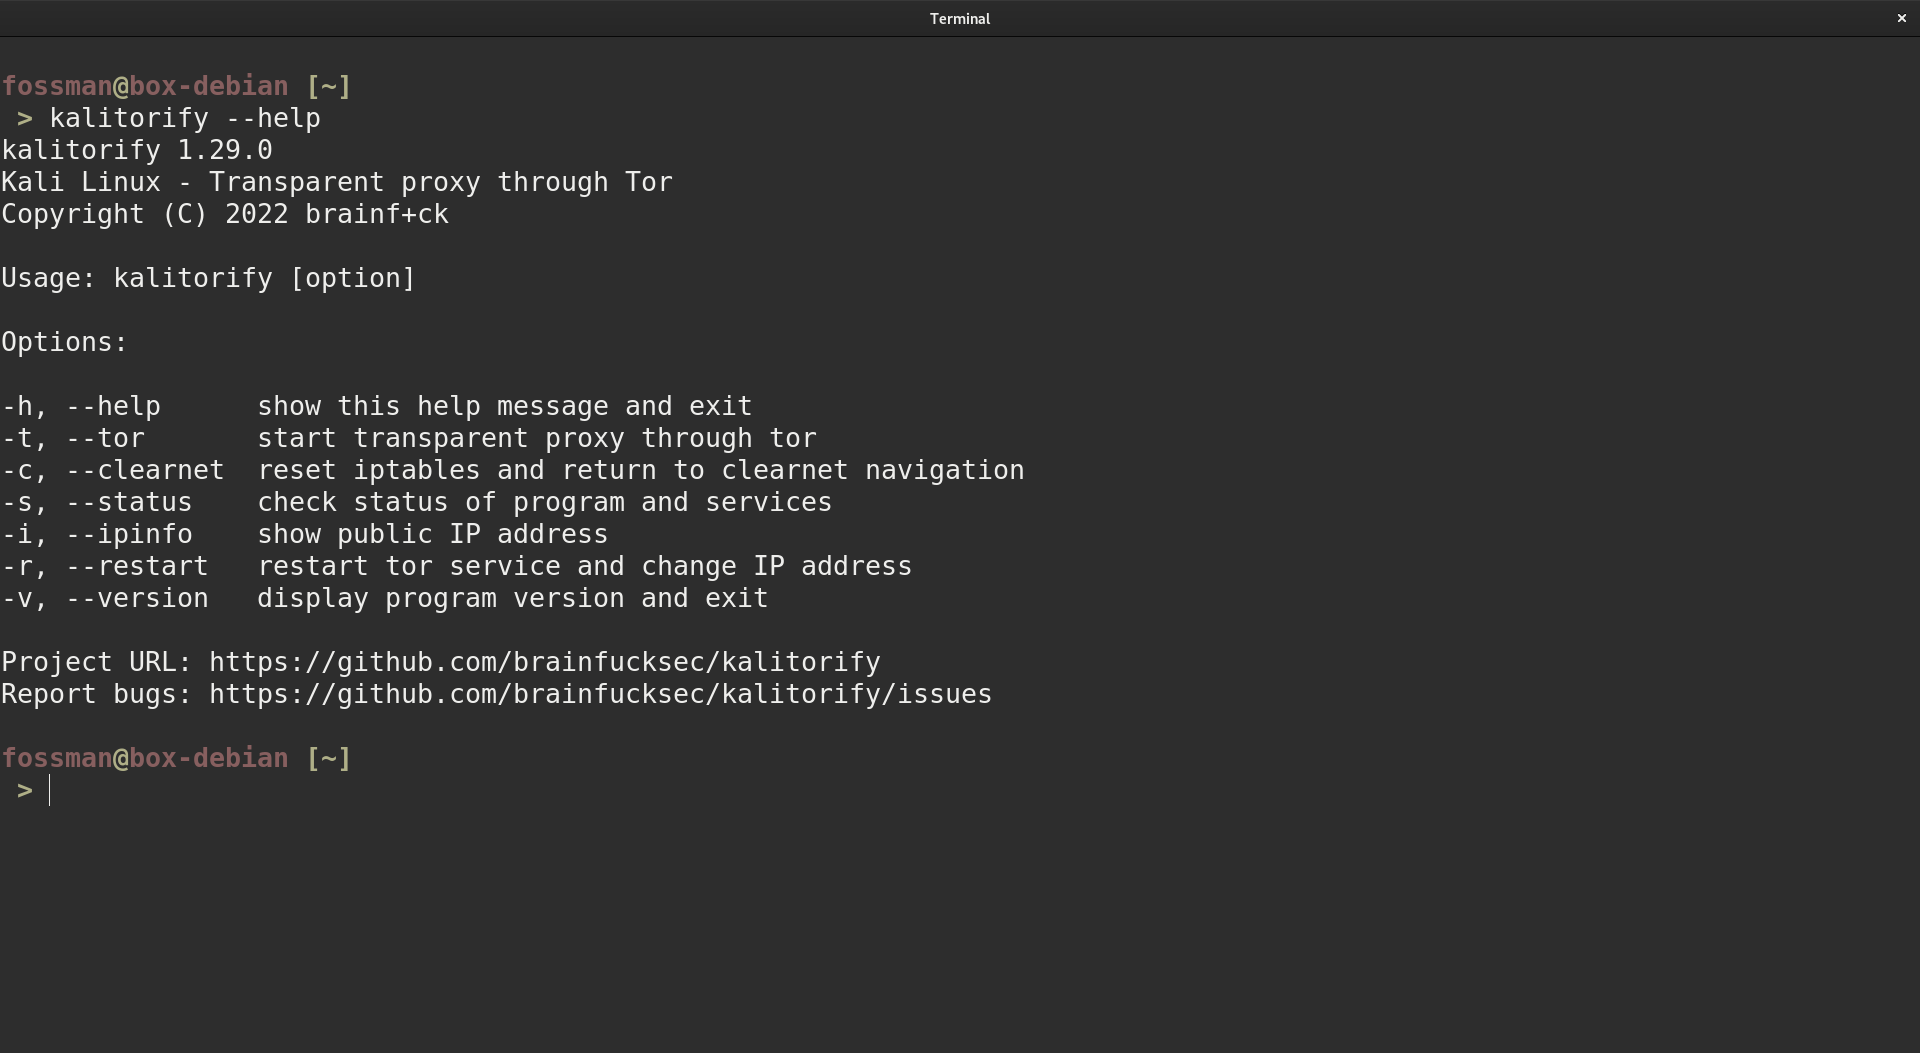
Use the -- help flag to show a list of options
Kalitorify Status
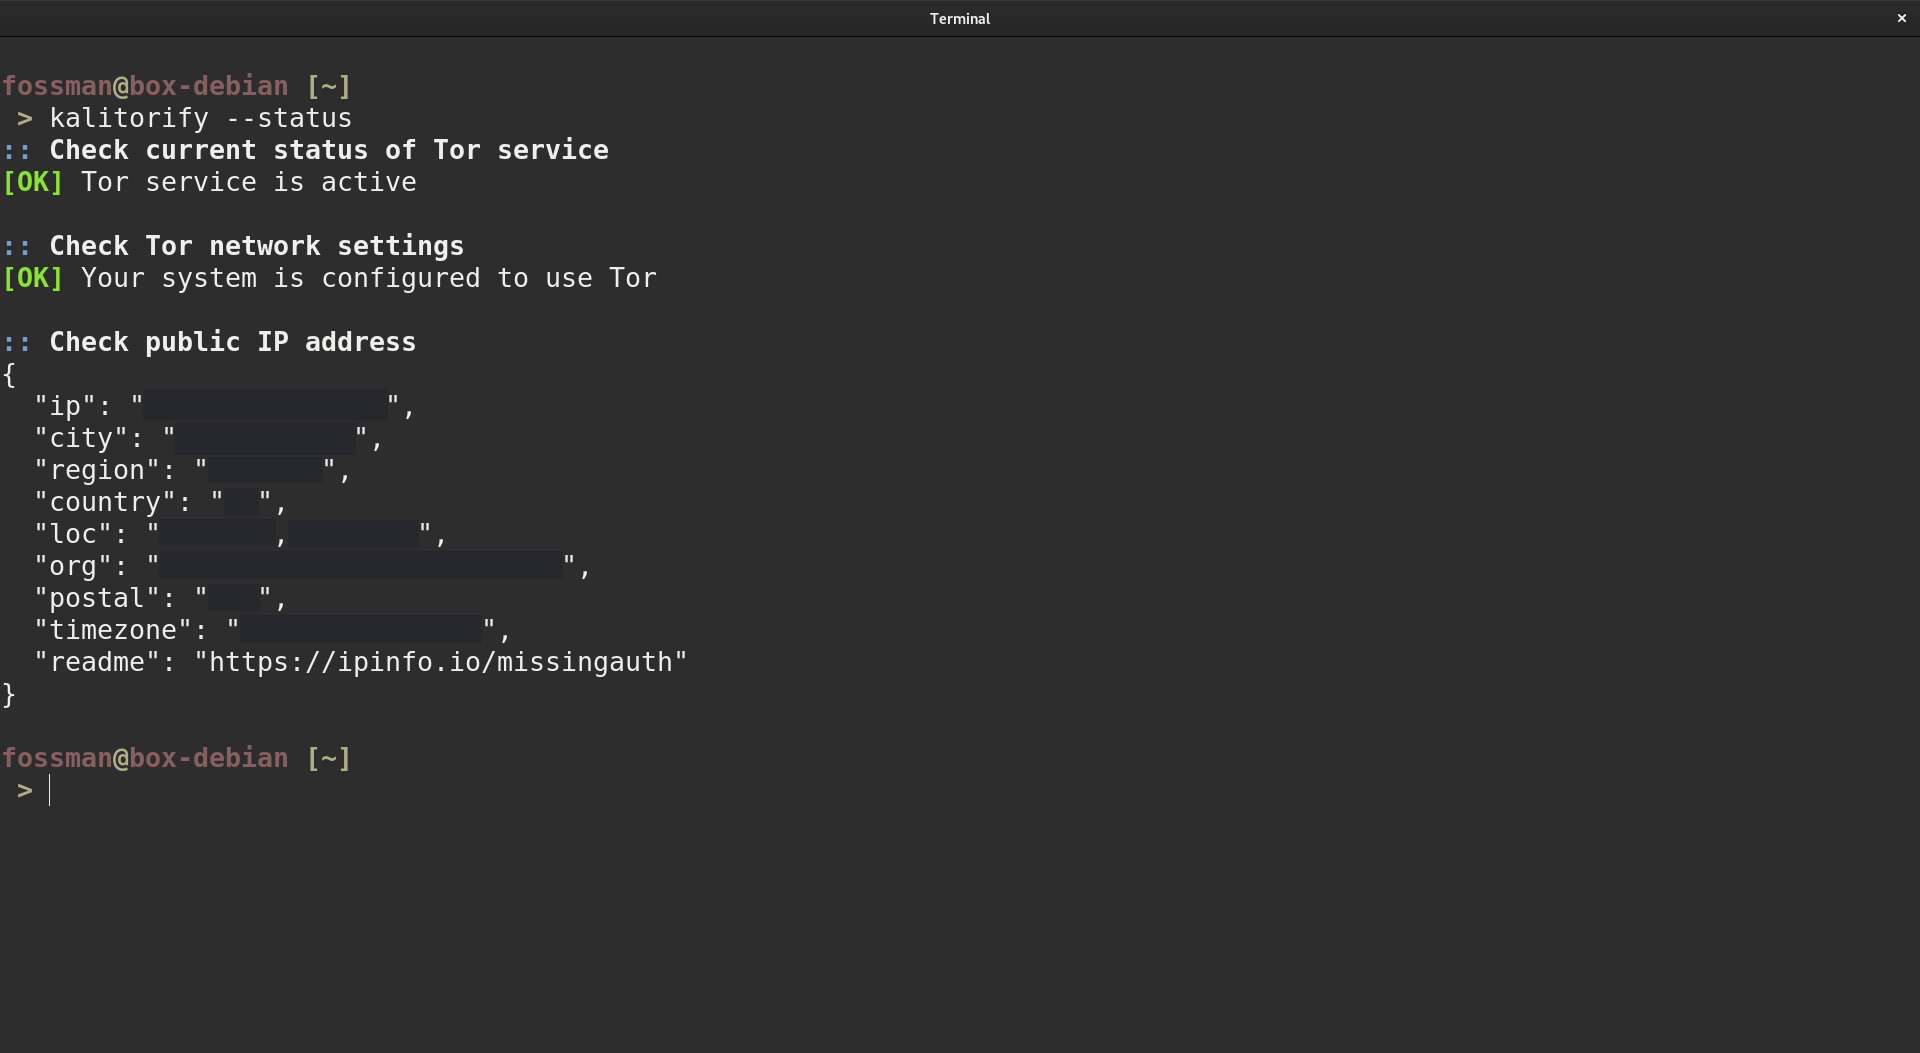
Use the -- status flag to show the current status of the application
Start Kalitorify
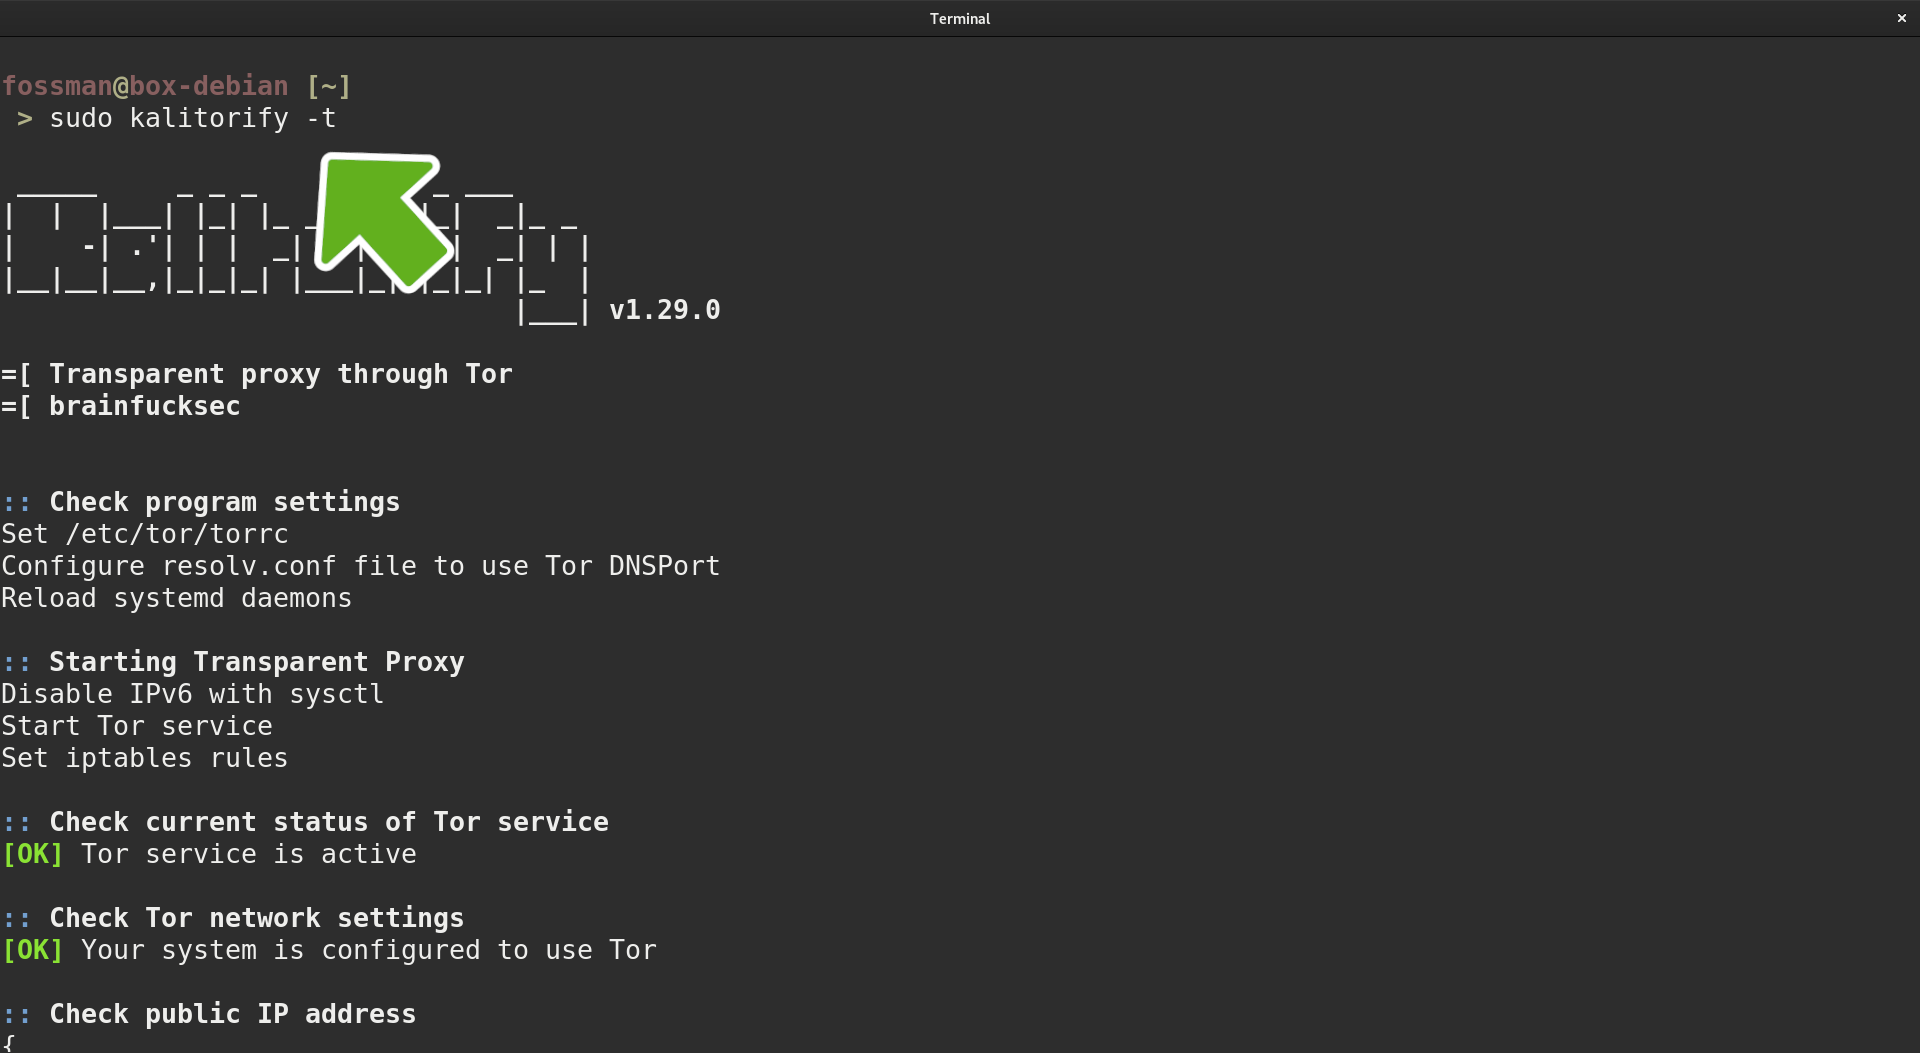
Due to the fact that Kalitorify launches it's own instance of tor, it will need to be stopped before starting the proxy. Use the first command to stop tor and the second to start Kalitorify.
fossworkx@linux-server:~$ sudo kalitorify -t
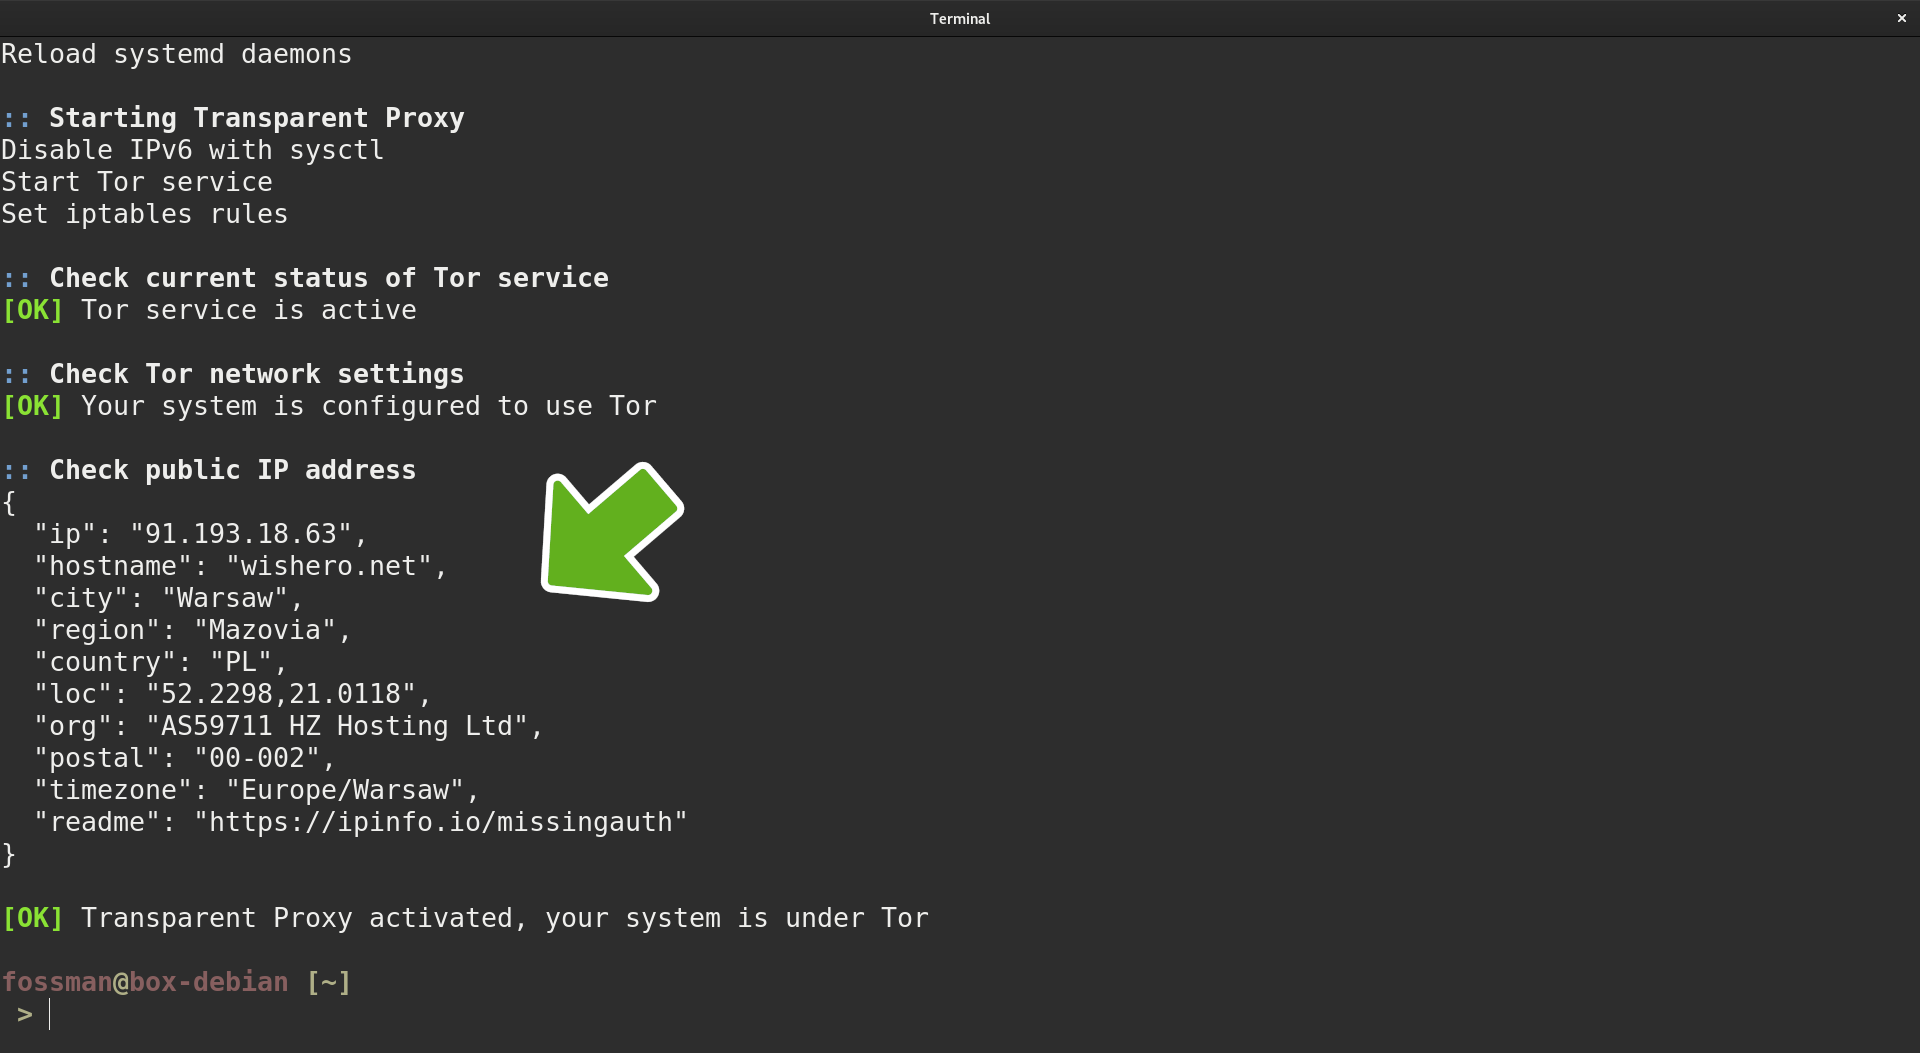
Verify IP and location information have changed
Scroll down to the bottom and verify your information has changed.
Confirm changes in a browser
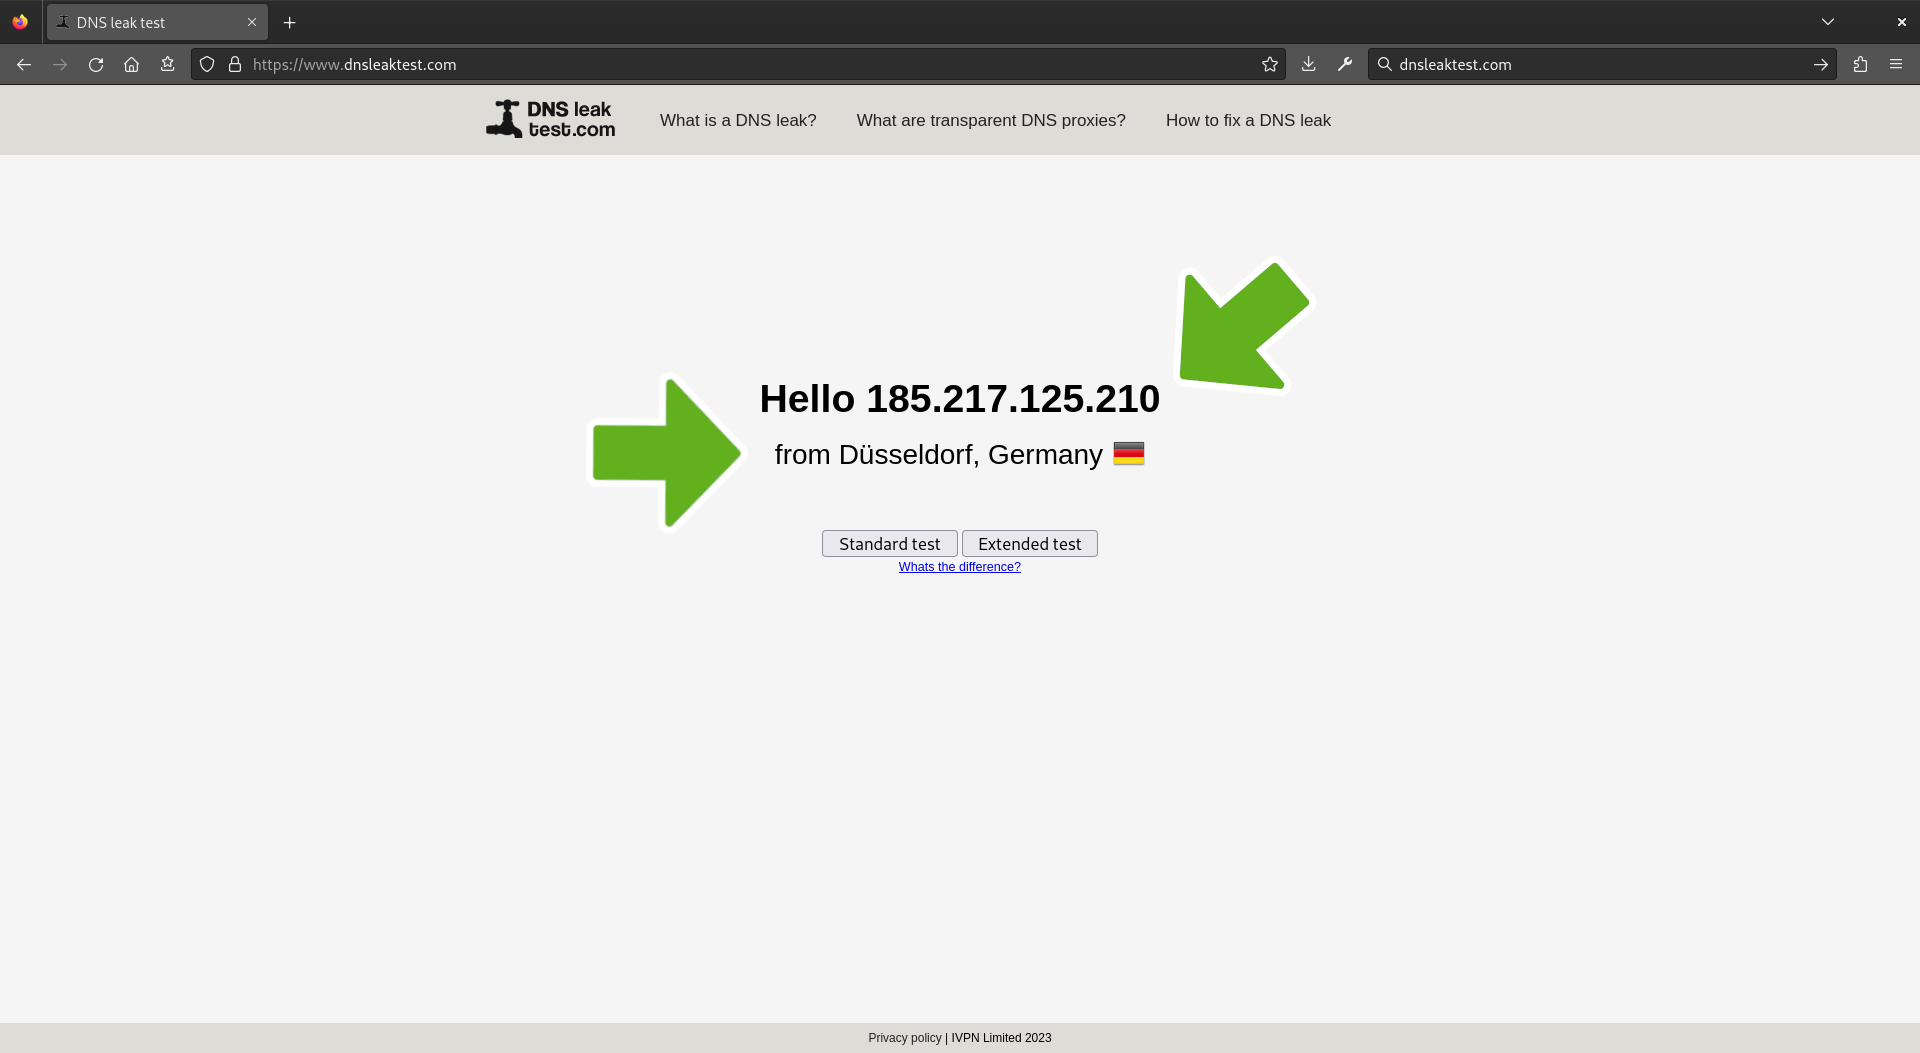
Open up a browser and navigate to https://www.dnsleaktest.com/ to confirm. Verify the IP address and country of origin have changed. If they do not match the ones shown in the terminal output, not to worry. As the location of the last hop may have change since it was originally designated by the application. Which is completely normal behavior. As long as it's not YOUR IP address information showing on the other end.
Confirm DNS change
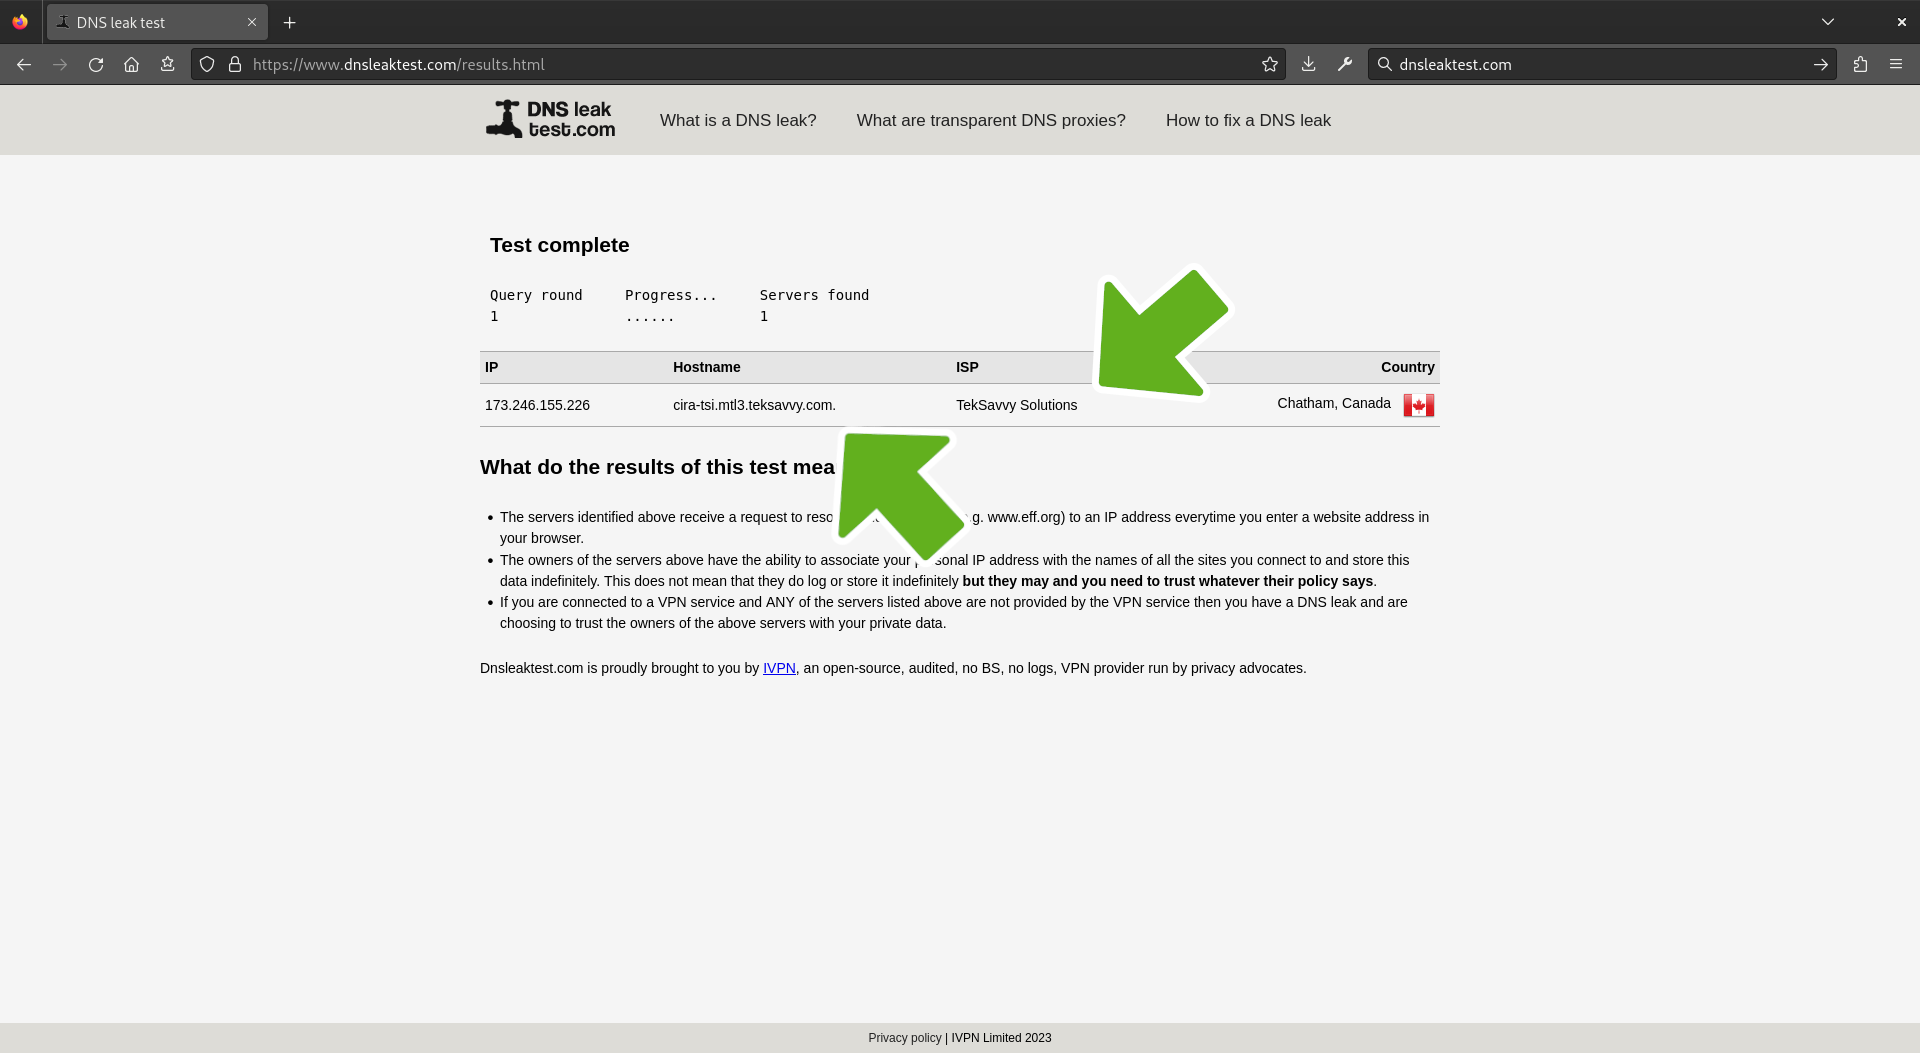
Lastly, click on Standard test and wait one or two minutes for dnsleaktest to display the DNS and ISP providers that are shown to them. Then verify they do not belong to you.
Close connection
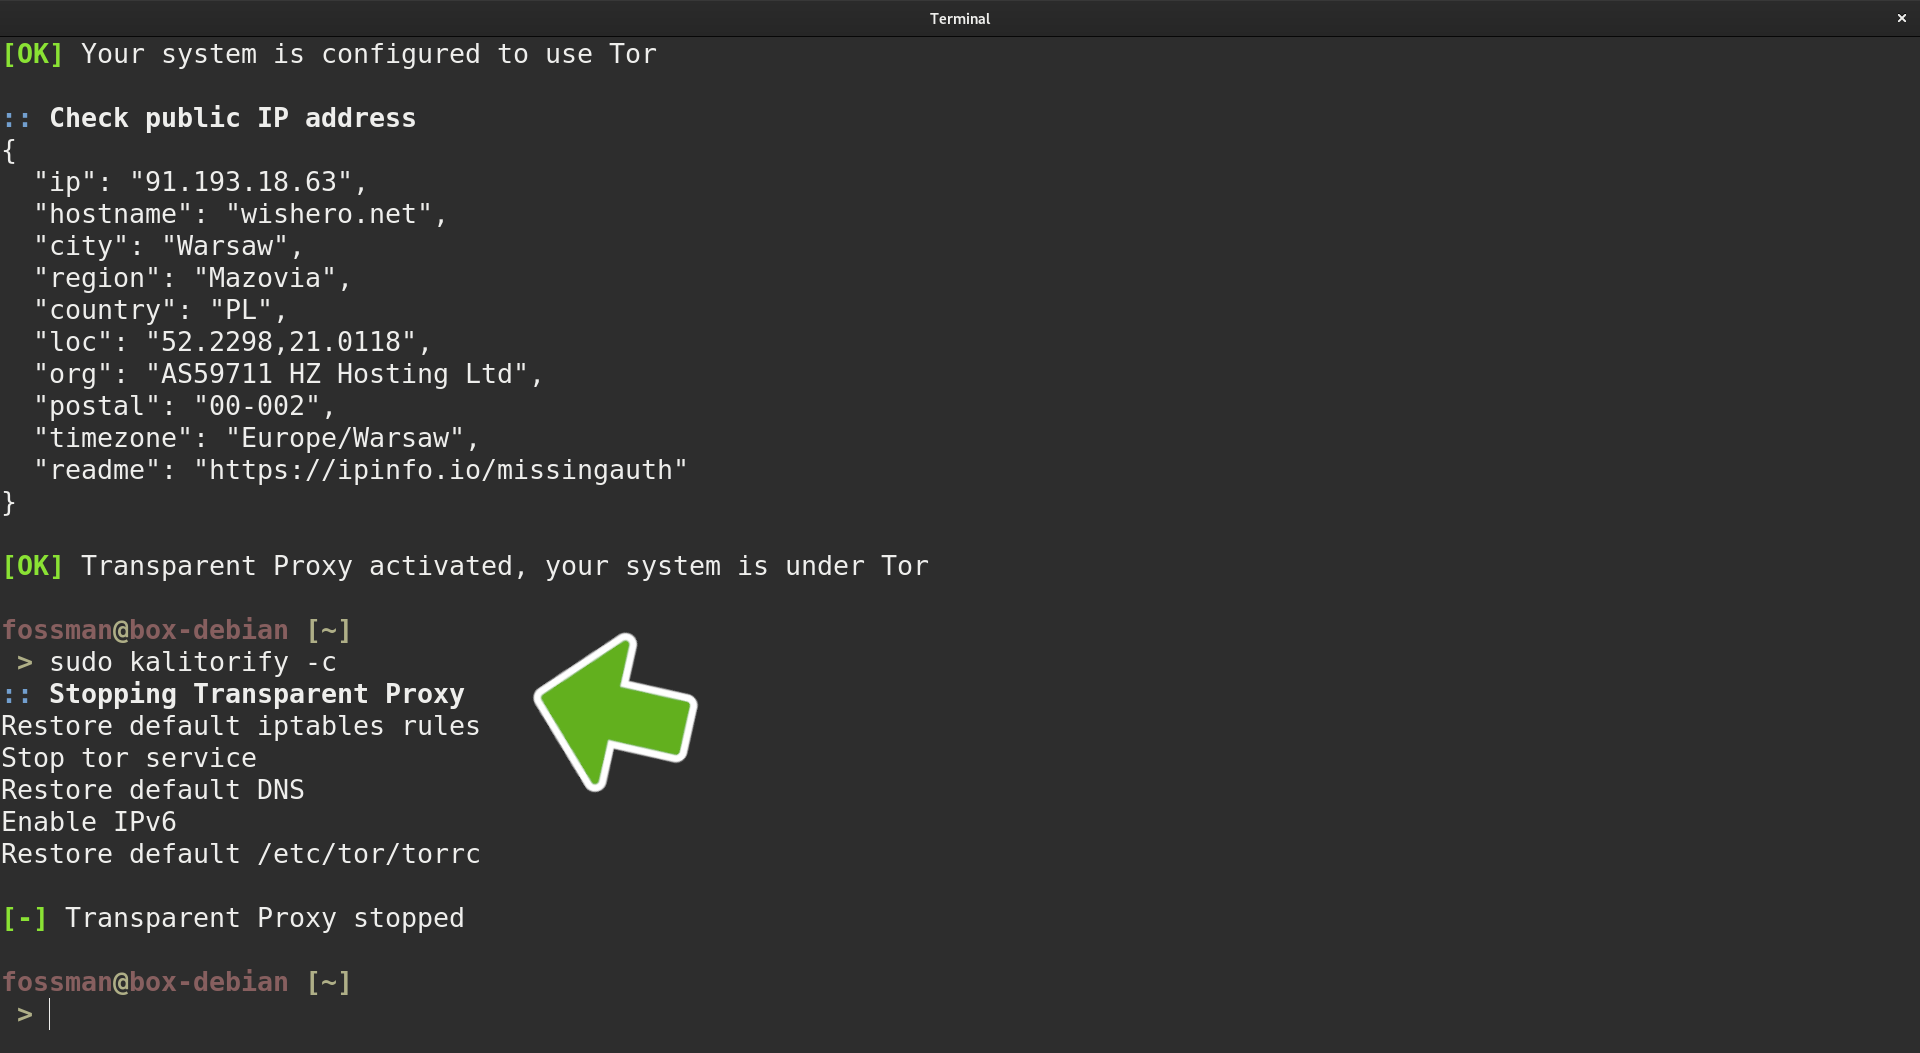
To close the Tor connection and go back to the clearnet, use the following command.
