GETTING STARTED

To get started, you'll first need to choose a distribution. These distributions can be thought of as kernel, display server and a group of chosen applications that are intended to suit a specific purpose or skill level. Unlike other propitiatory operating systems, there are many different options to choose from. Literally thousands. A handful of some of the most popular ones are listed below.
Next, you'll need to cerate a bootable USB image of that distribution, by downloading it, then flashing it onto a USB. From there it can be run in Live mode, which will give you the ability to try out the distribution before installing it to your computer, or if the decision has been made, the installer can be run.
DISTROBUTIONS

Listed below are a few suggestions, which focus on the distributions purpose and the skill level of the user. For a much larger and more comprehensive list then we can provide here, click on the following link, which will redirect you to a website called DistroWatch.com Here you will be able to read about many other distributions before you pick which one is best suited for you.

Linux Mint
Purpose: general
Difficulty Level: Beginner
Fusce pellentesque elementum enim. Pellentesque habitant morbi tristique senectus et netus et malesuada fames ac turpis egestas. Praesent pulvinar, massa et auctor euismod, orci nisl fermentum sapien, quis commodo odio ligula eu mauris. Etiam tempus elementum felis, porta semper nisl dignissim non.

Debian Linux
Purpose: General
Difficulty Level: Intermediate
Fusce pellentesque elementum enim. Pellentesque habitant morbi tristique senectus et netus et malesuada fames ac turpis egestas. Praesent pulvinar, massa et auctor euismod, orci nisl fermentum sapien, quis commodo odio ligula eu mauris. Etiam tempus elementum felis, porta semper nisl dignissim non.
Tails
Purpose: privacy
Difficulty Level: Intermediate
Fusce pellentesque elementum enim. Pellentesque habitant morbi tristique senectus et netus et malesuada fames ac turpis egestas. Praesent pulvinar, massa et auctor euismod, orci nisl fermentum sapien, quis commodo odio ligula eu mauris. Etiam tempus elementum felis, porta semper nisl dignissim non.

Kali Linux
Purpose: Security
Difficulty Level: Intermediate
Fusce pellentesque elementum enim. Pellentesque habitant morbi tristique senectus et netus et malesuada fames ac turpis egestas. Praesent pulvinar, massa et auctor euismod, orci nisl fermentum sapien, quis commodo odio ligula eu mauris. Etiam tempus elementum felis, porta semper nisl dignissim non.

Arch
Purpose: latest & greatest
Difficulty Level: Advanced
Fusce pellentesque elementum enim. Pellentesque habitant morbi tristique senectus et netus et malesuada fames ac turpis egestas. Praesent pulvinar, massa et auctor euismod, orci nisl fermentum sapien, quis commodo odio ligula eu mauris. Etiam tempus elementum felis, porta semper nisl dignissim non.
BOOTABLE MEDIA
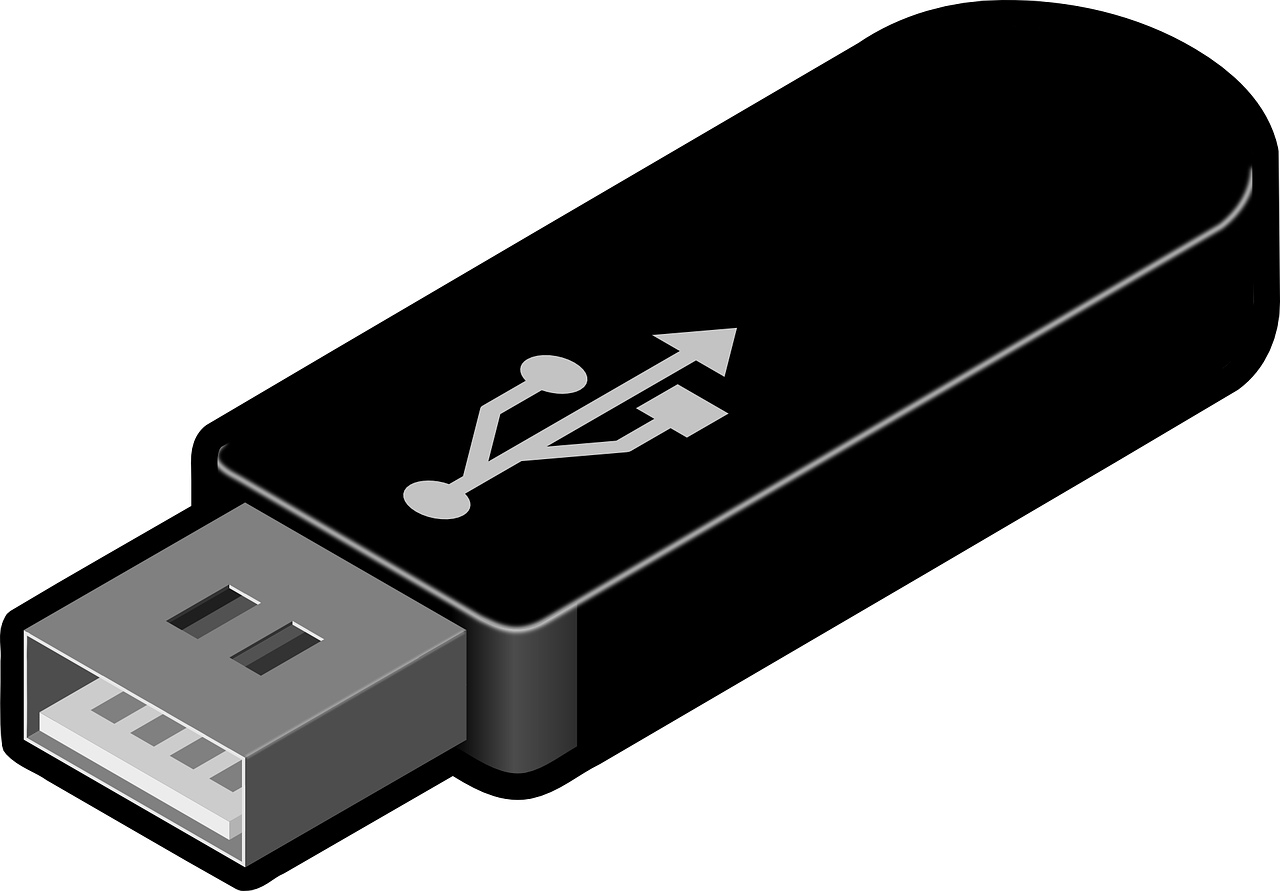
After you have chosen the distribution you would like to install on your system, download and verify the .iso image file from the official website, you will then be able to create your bootable Linux image USB.
If your current operating system doesn't already have this type of software installed, one of the best options is to download and install a tool called Balena Etcher After it's been installed on your system, complete the following steps, to create the bootable Linux USB drive.
01
Insert The USB Drive & Open USB Creation Software
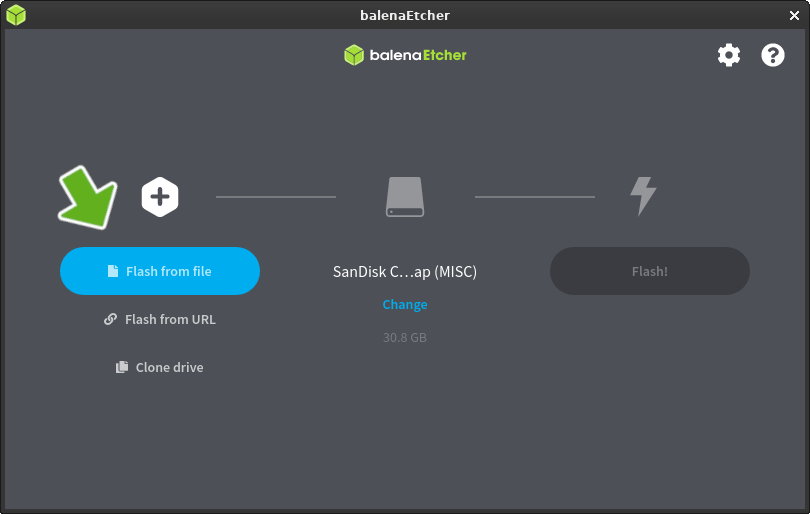
Once the installation is complete, insert the USB flash drive you would like to copy the image ISO to, then... open the Belena Etcher tool from the desktop shortcut menu or from the Start menu
03
Select the connected USB flash drive on BalenaEtcher
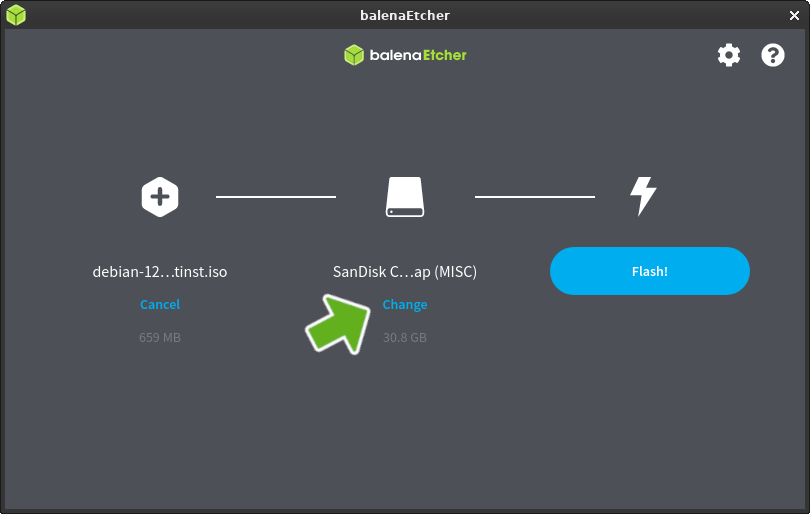
Next, choose the USB flash drive that you want to make bootable. If only a single USB storage device is connected, it will automatically be selected, else you can click on Change to choose a different USB flash drive connected to the system. After selecting the device, click on Continue
05
What happens next?
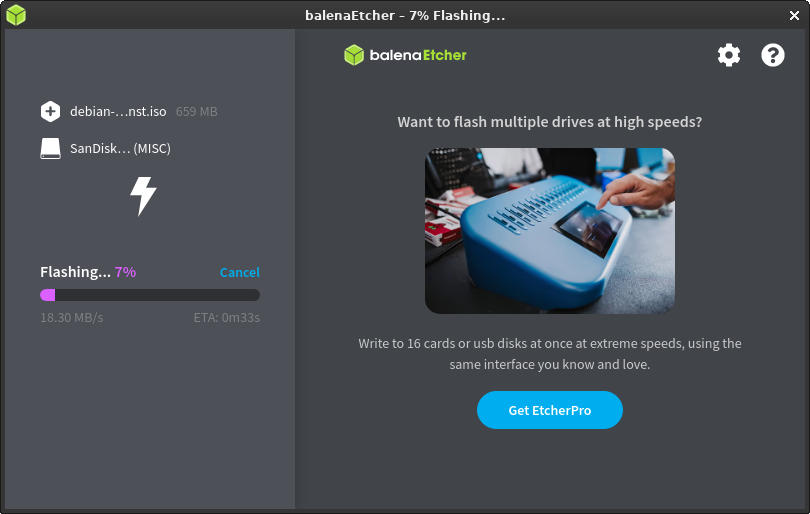
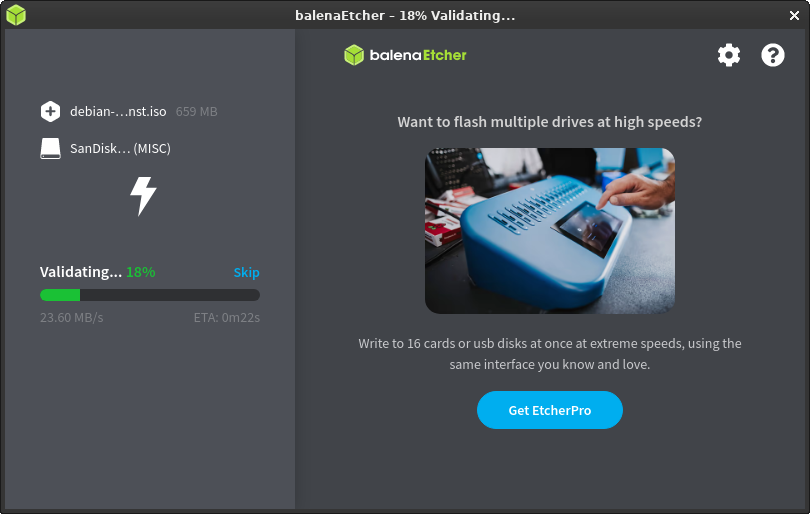
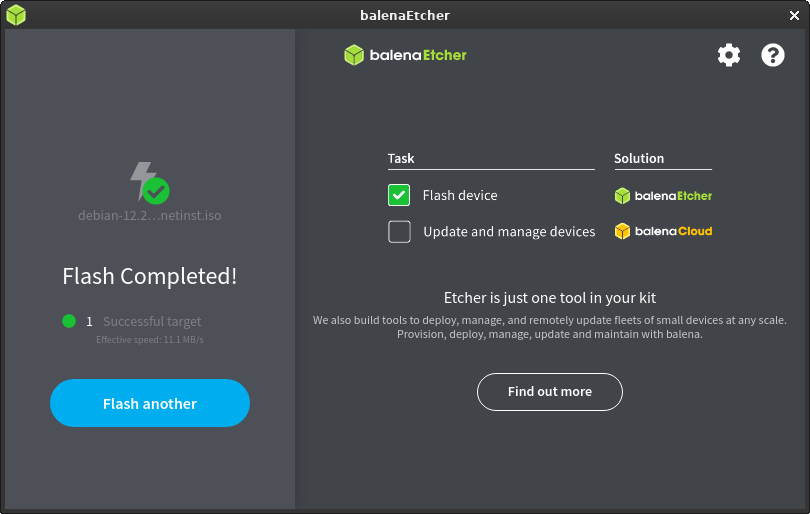
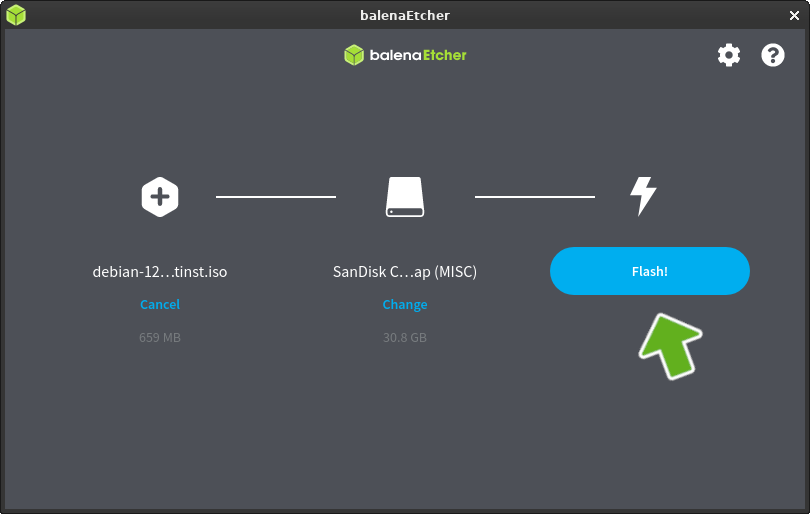
Once the process starts, flashing will take some time depending upon the size of the bootable image, and the speed supported by the USB flash drive. The process of flashing will be followed by validation, after which you will be able to boot from the USB flash drive. Once the process is successfully completed, the drive will be ejected automatically. Your now ready to install the distribution to your system.
